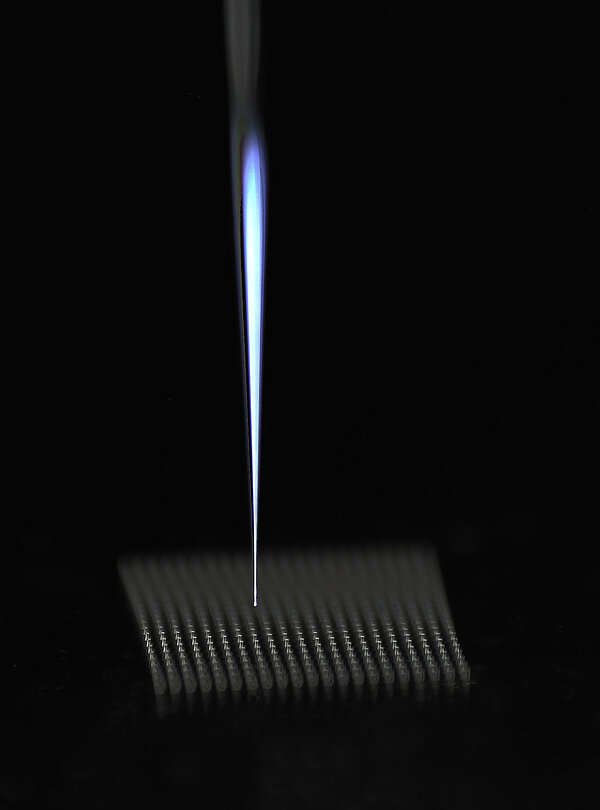
The Werth multi-sensor systems are ideal for the measurement of workpieces in the electronics, precision mechanics and optics industries. One example is the measurement of perforated glass plates, which are produced in the complete panel in a size of approx. 600 mm × 600 mm with up to 1 million extremely small holes (Through Glass Vias – TGV). The individual patterns are then separated, metallically plated through and used for advanced packaging, i.e. the stacking of circuits in chip production. A 100% measurement of the position, diameter (≤ 100 µm), mold and orientation of the bores is required. The flatness and thickness of the glass plate must also be determined. Metrology challenges lie in the structural resolution required to capture the bore diameter and mold with a very large number of bores, for which a significantly higher measuring speed is required than with conventional image processing.
The Werth VideoCheck® HA is specially designed for the measurement of precision workpieces with tolerances in the micrometer range. The patented Raster Scanning HD operating mode enables the automatic capture of large areas with small geometric elements with high accuracy, thus meeting the requirements in terms of resolution and measuring speed in a unique way. The result is an overall image with a resolution of up to 20,000 megapixels. The position, diameter and mold for up to 1 million bores can be measured and evaluated in series in less than 15 minutes. This makes raster scanning HD many times faster than conventional measurement methods.
Werth probably offers the world's largest selection of sensors, enabling complete measurements at unprecedented speeds. The patented Werth Fiber Probe® is ideal for the measurement of form error at different heights of the bore and, with its glass stylus tip (diameter ≥ 20 µm), is considered the world's most successful probe. In addition, the Chromatic Focus Point sensor is used for measuring the thickness and flatness of the glass plates (glass thickness ≥ 200 µm). The distance is determined via the color of the reflected light, which also enables measurements on reflective and transparent surfaces for coating thickness measurements.


