learn more
News on multi-sensor systems

Roundness and straightness measurement with the precision of form testers

Roundness and straightness measurement

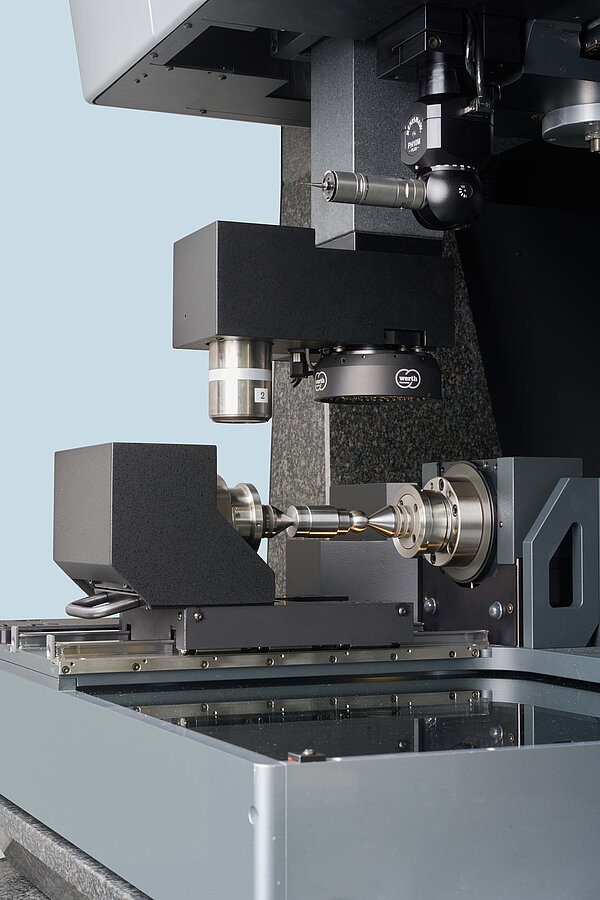
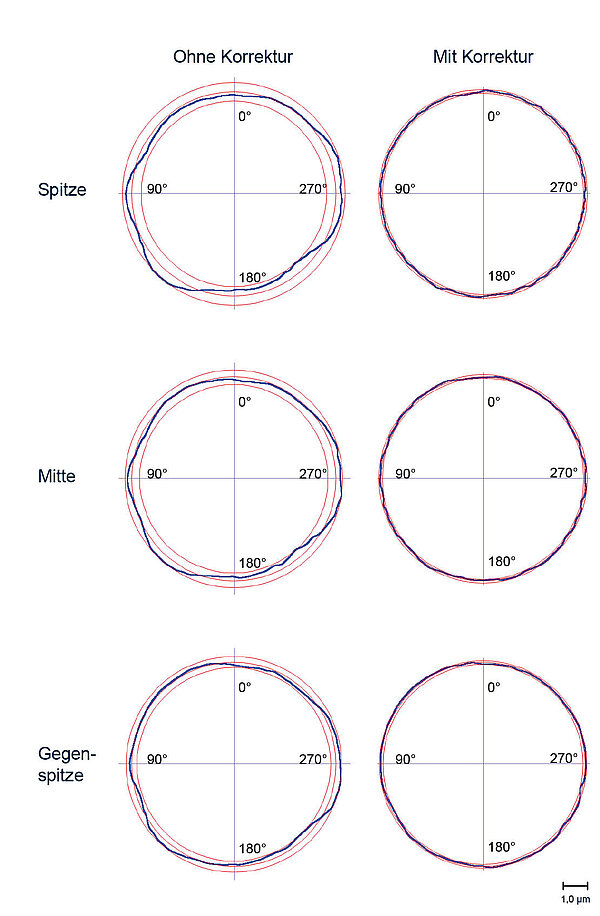
Measurement of roundness and straightness on the coordinate measuring machine with unprecedented accuracy. The patented Raster Scanning HD mode and the new RotaryScan HD are used here in particular. A highly accurate telecentric lens, an air bearing rotary axis with an air bearing tailstock and a new correction method achieve minimal measurement errors in the range of 200 nm for reliable detection of roundness tolerances of up to 2 μm.
 

Roundness and straightness measurement

The new rotary axis with air bearing tailstock enables minimal measurement errors over the entire length of the workpiece (e.g. 350 mm)

Roundness and straightness measurement

RotaryScan HD with image processing sensor and new rotary axis

One application, for example, is the measurement of the straightness of the outer cylinder of control pistons for hydraulic applications. During the movement of the device axes – but without movement of the rotary axis –, the outer contour of the workpiece is captured with the maximum possible number of images. The overall image generated by superimposing the single images enables fast measurement "in the image" with increased accuracy.
To measure roundness, the image is captured while the rotary axis is moving. Measurement points are determined from the images of the various rotational positions, which are then calculated to form a circle. With up to 400 measurement points per second and measurement errors in the range of 200 nanometers, the accuracy of form measuring machines is achieved with significantly less measuring time.
This means that Werth coordinate measuring machines can solve measurement tasks at a new level of performance that could not previously be performed on conventional coordinate measuring machines.

Further information:

Rotary axis

Contact
Select another country or region to see content in your language.