• Home
  • Latest news
  • CT application examples from the plastics industry – Replacement of conventional measuring equipment
learn more
Economical measurement with computed tomography

CT application examples from the plastics industry – Replacement of conventional measuring equipment

CT application examples from the plastics industry – Replacement of conventional measuring equipment

3D coordinate measuring machines with computed tomography sensors are now widely used in the plastics industry and are increasingly replacing standard measuring equipment. The TomoScope® XS Plus systems with integrated workpiece changer are characterized in particular by precision in measurement coupled with a speed that is unattainable for conventional measuring machines.

Today, the machines are used in production monitoring, quality assurance and in the development of injection molds, for example to calculate mold corrections directly with the FormCorrect software package in the WinWerth® measurement software.
Small plastic gears can also be tested in a production cycle of just a few seconds per workpiece. 96 gears can be captured together in just 2.5 minutes. The measurement point clouds are automatically assigned, the entire tooth geometry is measured and all gears are tested for defects such as burrs or voids.
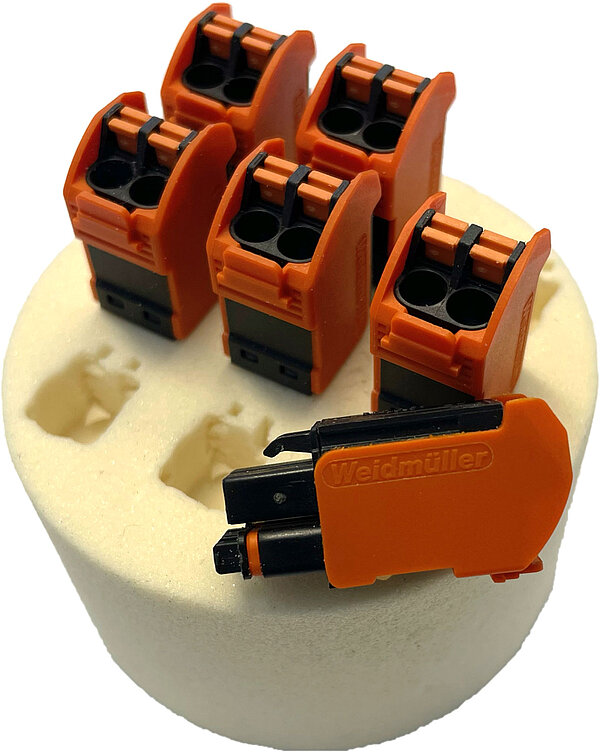
For example, the dimensional accuracy of metal and plastic components can be measured on connectors and cable connectors in the installed state and the connection clamps can be tested fully automatically for defects and burrs. The optional burr detection software process integrated into WinWerth® provides a color-coded deviation plot of the burr and the maximum burr length.

CT application examples from the plastics industry – Replacement of conventional measuring equipment

Industrial computed tomography is used to test the dimensional accuracy of the assembly and the Individual components

Contact us
Select a different country or region to see content in your language.