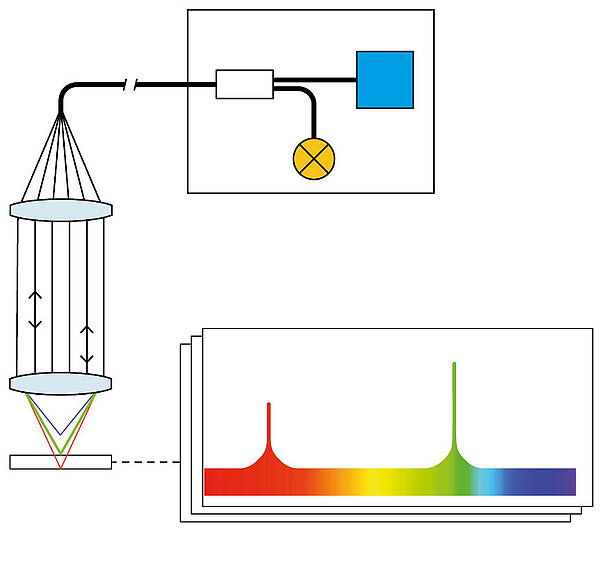
The thicknesses of coatings that can be penetrated by light from the visible to the infrared range can be measured with the Chromatic Focus Point point sensor, the Chromatic Focus Line sensor and the Chromatic Focus Zoom multi-sensor probe head (patented optical probe head with integrated image processing and chromatic distance sensor). With the CFP and CFZ point sensors, the coating thickness can be measured at specific positions on the workpiece or as a contour scan with high point density on the entire workpiece surface. The linear probing of the CFL results in speed advantages during measurement compared to CFP and CFZ. The volume between interfaces can also be calculated.
With the interferometric principle, the measurable coating thickness range is between 5 µm and 150 µm when using visible light and between 30 µm and 10,500 µm when using infrared radiation. With chromatic measurement, in addition to measurements "in the image" in the measuring range of the sensor, i.e. without moving the device axes, the measuring range can be enlarged by measurements "on the image" with corresponding readjustment of the device axes. The measurement results depend on the refractive index of the materials, so this should be known very precisely. Another option is to calibrate the coating thickness directly using other metrology methods such as Werth Fiber Probe® or computed tomography.
-
Applications
- 3D free-form workpieces
- Extruded workpieces
- Molds
- Semiconductor workpieces
- Lithographic structures
- Metal-plastic composite workpieces
- Prismatic workpieces
- Punched and bent parts
- Packaging
- Shaft-Hub Connections
- Shafts and Axes
- Workpieces with micro-features
- Optics and Lenses
- Tools with precisely defined cutting edges
- Tools with complex or irregular cutting edges
- Gear wheels
- Cylindrical workpieces
- Industries
- Our products
- Werth service
- About Werth
- Careers
- Foundation
- Publications
- Downloads


