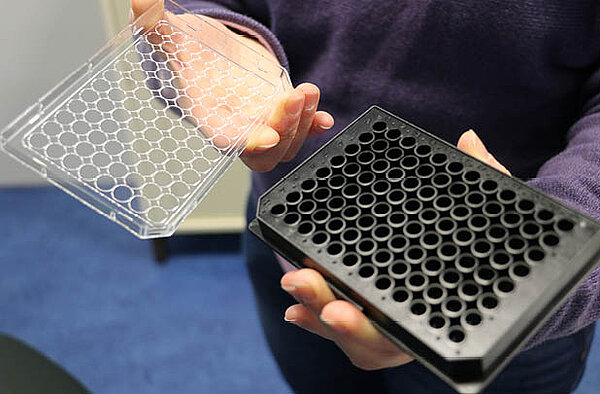
TPK-Kunststofftechnik GmbH in Nörten-Hardenberg near Göttingen specializes in the production of sophisticated plastic articles and injection moulds. Founded in 1997, the family-run company, which is managed by Werner Ternka and his sons Heiko and Mario and employs around 30 people, covers the entire process chain: from consulting, design, toolmaking and prototype production to series injection molding and assembly.
The company's customers primarily include medical, laboratory and automotive technology companies, which are known to have very high quality standards. The requirements have increased even further in recent years, emphasizes Mario Ternka, responsible for product development, design and mould making: "The drawing data that we receive from our customers today contains many sizes and tolerances that cannot be measured with conventional manual measuring equipment and simpler measuring machines, for example shape and position tolerances, i.e. perpendicularity, parallelism and flatness, as well as free-form tolerances. In order to measure these criteria correctly, we need suitable hardware on the one hand, but also a great deal of know-how that translates the measured values into the language of mold making on the other. That's why we can't leave the measurements to a metrology service provider."
TPK meets the increased quality requirements with state-of-the-art metrology
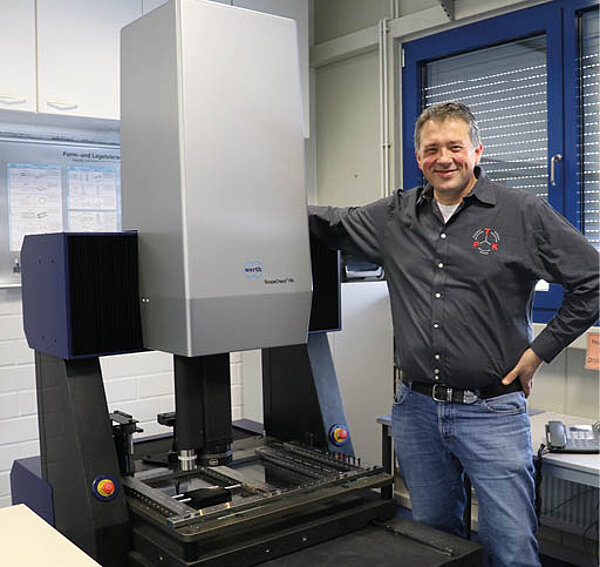
TPK therefore decided to invest in appropriate measuring equipment. Based on a 60-point specification sheet, a team of TPK specialists evaluated the offers from well-known measuring machine manufacturers – and decided to purchase a ScopeCheck® FB 3D coordinate measuring machine from Werth Messtechnik in Giessen.
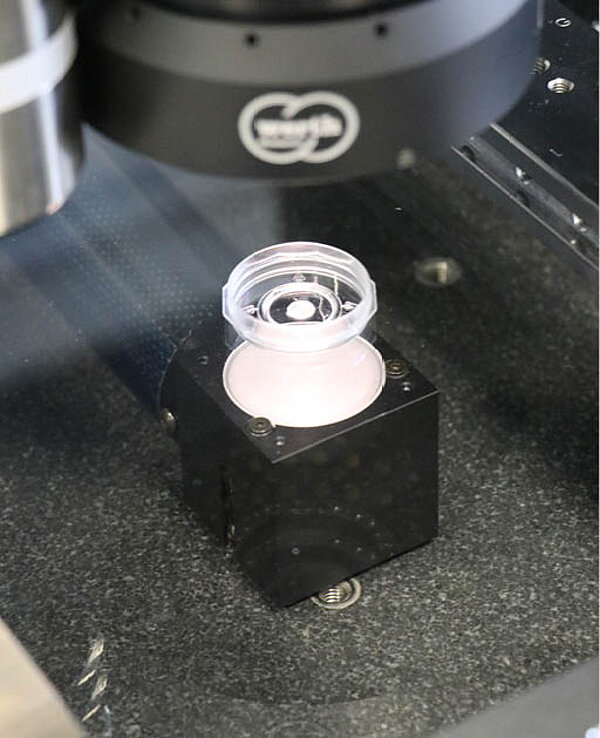
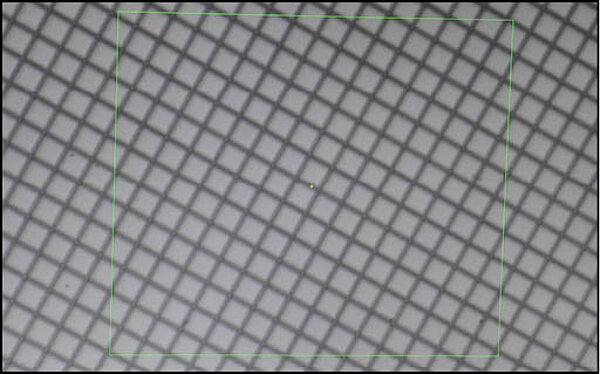
Its design with a fixed bridge on a granite base and the robust, mechanical precision guides ensure maximum accuracy, even when used close to production. The equipment includes an image processing sensor with Werth Zoom and supplementary multi-ring illumination unit for fast and reliable edge detection as well as the SP25 scanning probe; in addition, raster scanning is used to generate high-resolution overall images from single images taken during the movement of the sensor, which can then be conveniently measured. For fast optical surface measurement, TPK also invested in the Werth CFP distance sensor, which uses the chromatic aberration of special lenses for extremely accurate and largely surface-independent measurements.

Mario Ternka is enthusiastic about the Werth ScopeCheck® FB: "In particular, we would never have thought the accuracy and speed of the optical sensors possible before."
But how did the decision come about? "The combination of optical and tactile measurement options was at the top of our list of requirements," explains Mario Ternka. "And the optical distance sensor had to deliver reliable measurement results for high-gloss, transparent, black or white parts."
Ternka and his colleagues are particularly impressed by the optical sensors of the Werth ScopeCheck® FB: "We wouldn't have thought the accuracy and speed possible beforehand. That tipped the scales in favor of the ScopeCheck®." He also emphasizes its accessibility and user-friendliness: "The machine can be programmed – quickly and easily, according to a small amount of training –. Measurement and evaluation then run fully automatically."
Werth ScopeCheck® is an important feature in the TPK process chain
Injection molding is a primary shaping process in which quality criteria such as shape and position tolerances etc. are much more difficult to meet than in machining. It requires a great deal of manufacturing expertise and a process chain that TPK has developed and continuously optimized in recent years.
The process chain starts with the 3D CAD model. The designers use this to create an initial virtual form tool and an injection molding simulation. The analysis results are used to optimize the article on the one hand and to improve the form tool on the other. In this way, the plastics engineers try to counteract the difficulties in injection molding –, especially the distortions caused by longitudinal and transverse shrinkage –.
"As early as the design stage of the injection molds, we have to take into account the flow paths of the plastic, provide for temperature control and cooling ducts and plan the demolding and removal of the part," explains Mario Ternka. The repeated simulation provides information on the appropriate hot runner system, the optimum injection point, the position of the cooling ducts, allowances, crowning and much more. Only when the injection molding specialists are sure that the tool design is generally suitable do they produce the steel mold. At TPK, this is mainly done on modern machine tools, e.g. using 5-axis milling cutters and eroding.
In simple cases, the dimensional accuracy of the complex shaping tools is measured directly on the machine tool. Difficult measurements such as the position of a contour to the outer edges and the position of recesses to a pocket or turned cores can be carried out by toolmakers using the Werth ScopeCheck® FB and the combination of optical and tactile sensors.
Once the form tool is ready, it is sampled on one of the 15 injection moulding machines with clamping forces of up to 2200 kN and further optimized in toolmaking until injection moulding and demoulding are rigid. The TPK designer then creates a measuring program on an injection-moulded sample part on the ScopeCheck® that captures all the decisive criteria. Further changes to the mold are decided on the basis of the results. Mario Ternka emphasizes: "In this phase, we are usually talking about corrections in the range of a few tenths to hundredths of a millimetre, which are necessary to meet very tight tolerances. Without the precision of our multi-sensor systems, we would not be able to capture such values, or only at great expense."


