learn more

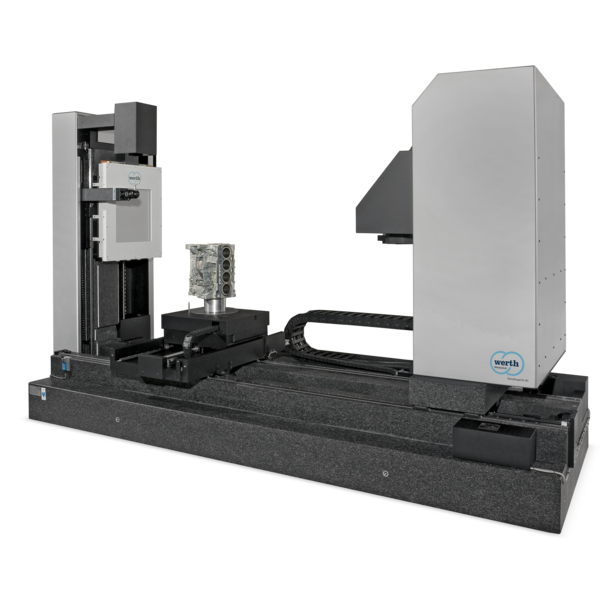
TomoScope® XL NC

Industrial computed tomography (CT) for measurements of extremely large workpieces

TomoScope® XL NC
Benefits

High-resolution measurements with X-ray tomography for shopfloor and measuring room

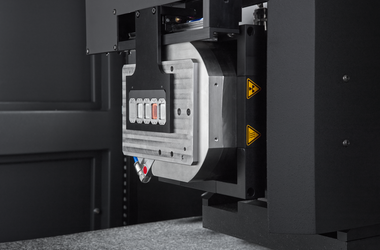
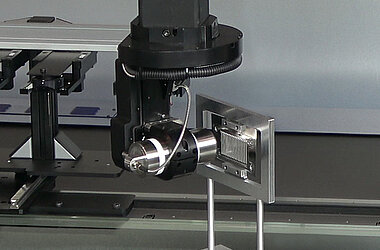
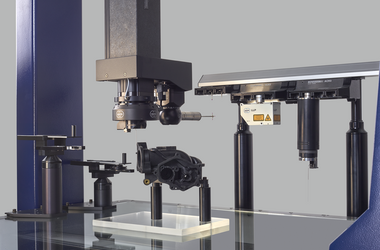
Thanks to a tube voltage of 450 kV, the TomoScope® XL NC is also suitable for measurement and inspection tasks on solid, large workpieces. To extend the range of applications, a second X-ray source can be used in automatic alternation in this multisensor coordinate measuring machine with X-ray tomography (CT), for example to additionally measure small components with the highest resolution. Areas of application include 3D measurements of cast parts (engine blocks, cylinder heads) and ceramic workpieces.

Please accept "Other" in the settings to watch this video.Other benefits

Other benefits

  • Large distance between X-ray tube and detector for precise measurement with small cone angles
  • Optical workpiece positioning aid for easy positioning of the measuring objects
  • In combination with a walk-in radiation protection room (optional), for example, corresponds in design and construction to fully protective devices according to the X-ray Ordinance
  • Due to the accuracy achievable with a subvoxeling process and the high measuring point density, this technology is also ideal for correcting tools for injection molding
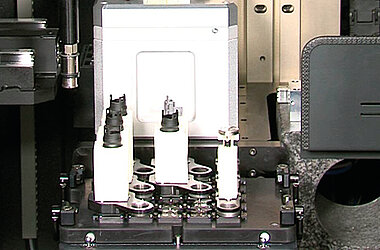
  • A workpiece changing system can be integrated and the computed tomography coordinate measuring machine can also be used continuously and automatically overnight and at weekends
  • Standard-compliant calibration according to VDI 2617 for reliable and traceable measurement results, optionally with DAkkS certificate
Technical Data
Technical Data

Design

3D coordinate measuring machine with computed tomography sensors

Measuring range

Max. Workpiece dimensions D = 500 mm / L = 1010 mm (depending on the aspect ratio of the workpieces)

Accuracy

Permissible length measurement error up to 4.5 µm

Sensors and accessories
Filter

Further equipment for TomoScope® XL NC

Werth computed tomography CT
Sensor
Werth computed tomography CT
Laser Line Probe LLP
Sensor
Laser Line Probe LLP
Rotary axis
Accessories
Rotary axis
Workpiece changing system
Accessories
Workpiece changing system
CNC filter changer
Accessories
CNC filter changer
Slit diaphragm
Accessories
Slit diaphragm
Longlife target
Accessories
Longlife target
Longlife filament
Accessories
Longlife filament
WRT rotary/tilt head
Accessories
WRT rotary/tilt head
PH10M rotary/tilt head
Accessories
PH10M rotary/tilt head
Software - The universal measurement software for coordinate measuring machines with optics, probe, computed tomography and multi-sensor systems
Software

The universal measurement software for coordinate measuring machines with optics, probe, computed tomography and multi-sensor systems

The operation of machines with a wide variety of sensors, as well as the evaluation of volume data and point clouds ...
learn more

Service - Comprehensive service for coordinate measuring machines
Service

Comprehensive service for coordinate measuring machines

Services from initial commissioning, training and maintenance to retrofitting ...
learn more

Contact us
Select a different country or region to see content in your language.