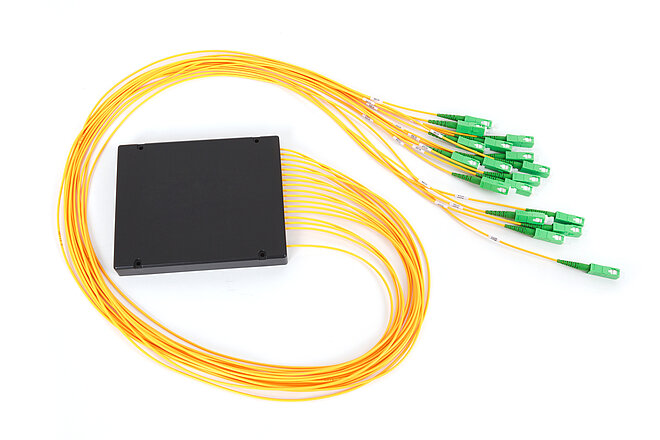
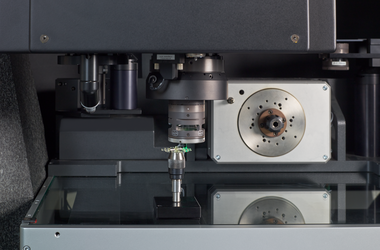
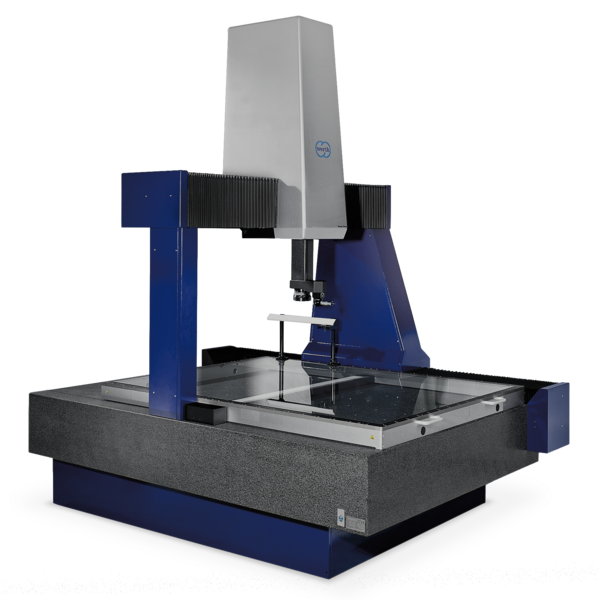
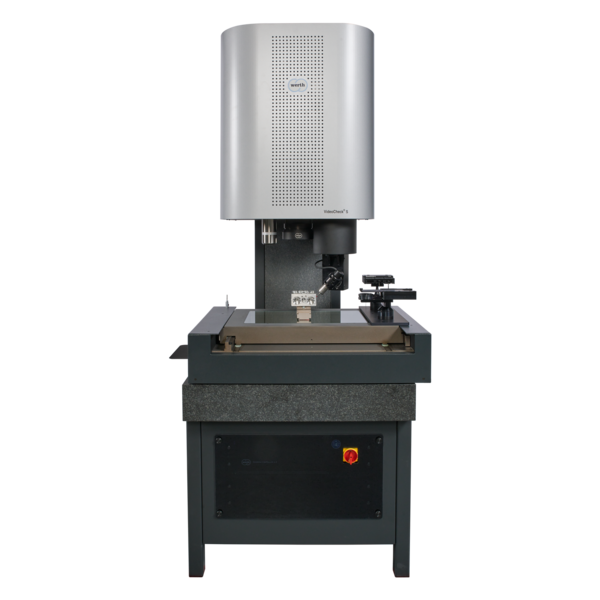
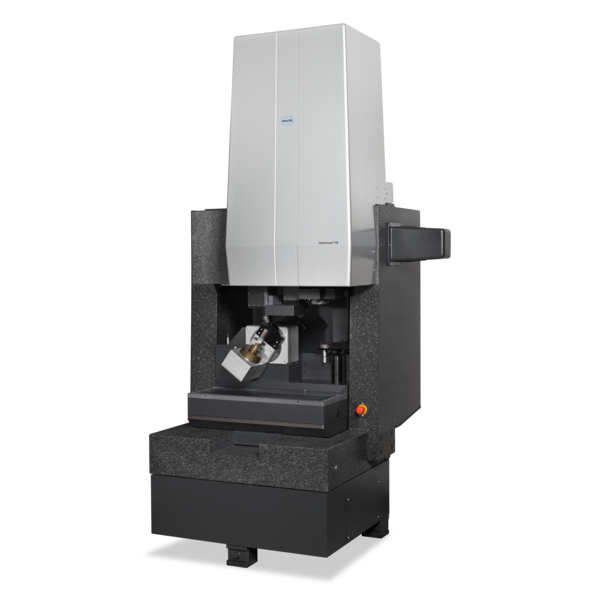
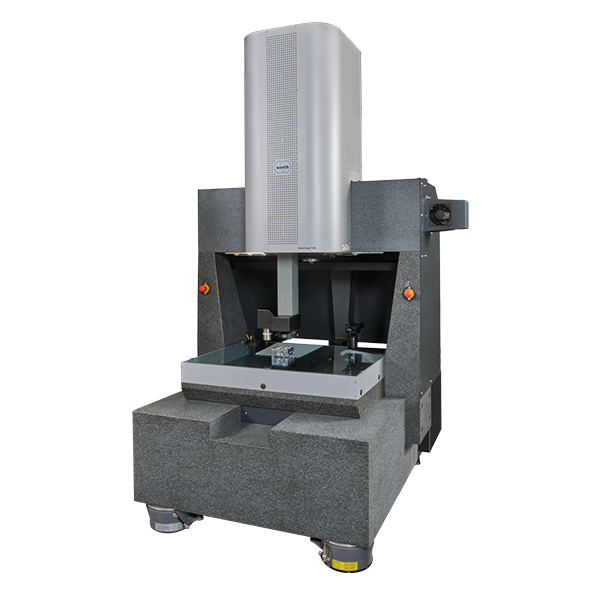
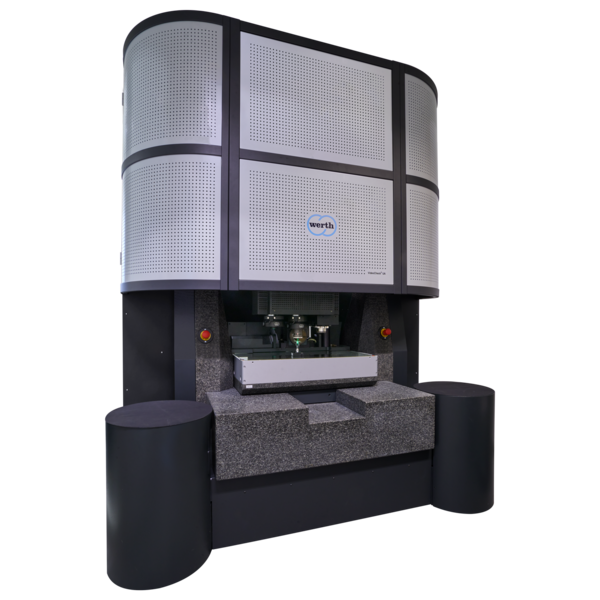
Due to the small diameter, the bore shapes cannot be measured with conventional styli.
The diameter, position and mold of the bores must be measured.
The tolerances are in the range of a few µm. The requirement for measuring accuracy is therefore very high.
The same applies to measuring speed.
Here, raster scanning HD enables the measurement of 1 million geometrical characteristics with up to 20,000 megapixels of resolution in just a few minutes instead of 7 hours.
-
Applications
- 3D free-form workpieces
- Extruded workpieces
- Molds
- Semiconductor workpieces
- Lithographic structures
- Metal-plastic composite workpieces
- Prismatic workpieces
- Punched and bent parts
- Packaging
- Shaft-Hub Connections
- Shafts and Axes
- Workpieces with micro-features
- Optics and Lenses
- Tools with precisely defined cutting edges
- Tools with complex or irregular cutting edges
- Gear wheels
- Cylindrical workpieces
- Industries
- Our products
- Werth service
- About Werth
- Careers
- Foundation
- Publications
- Downloads


