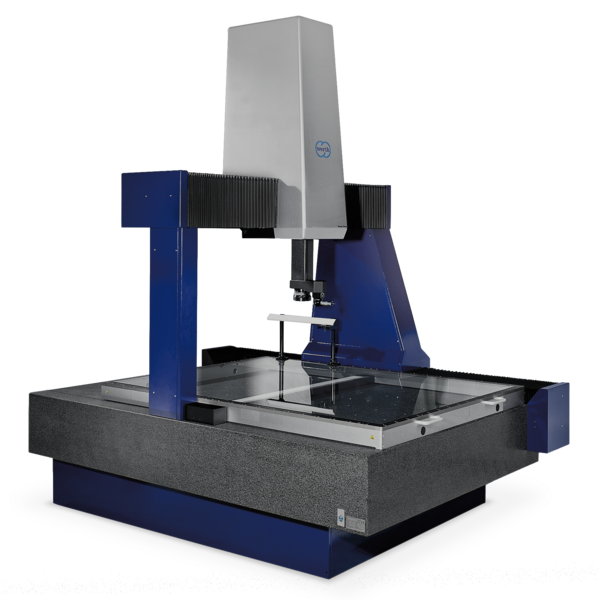
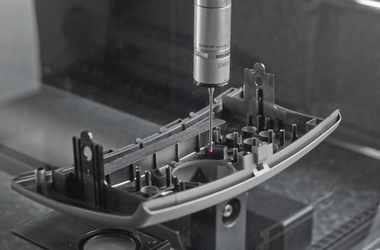
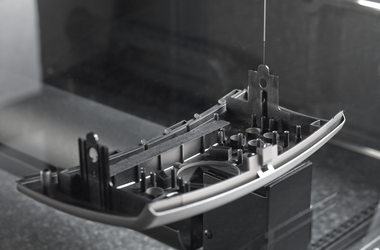
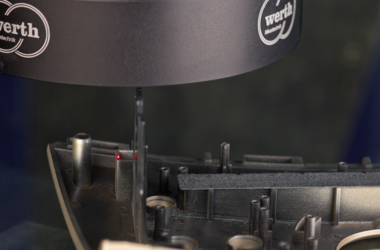
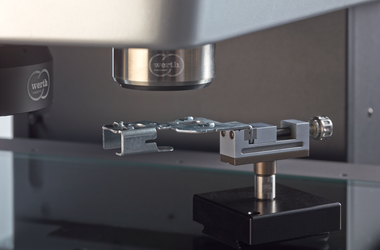
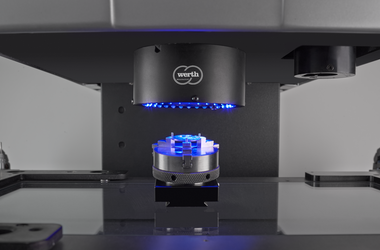
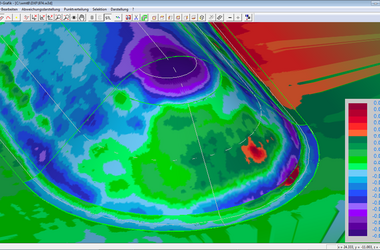
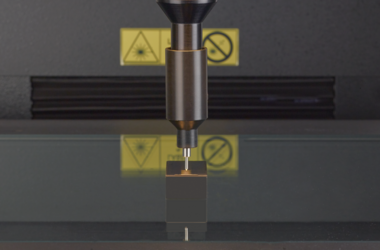
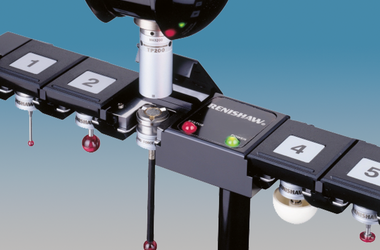
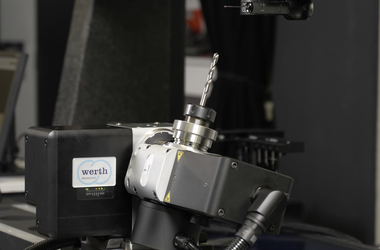
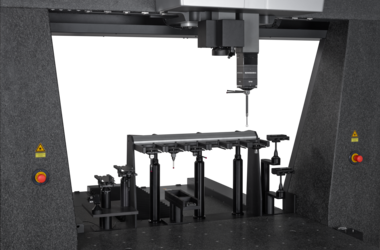
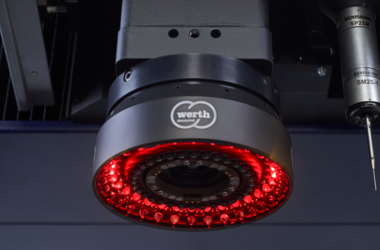
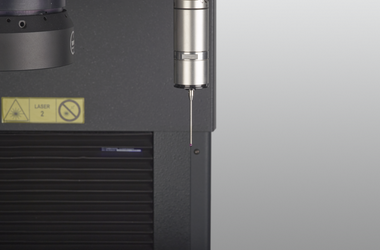
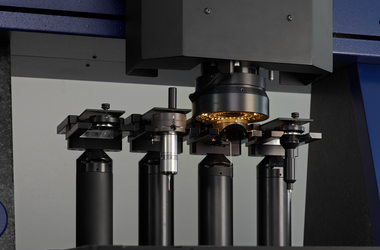
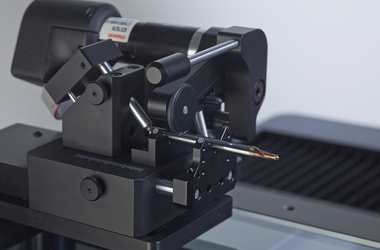
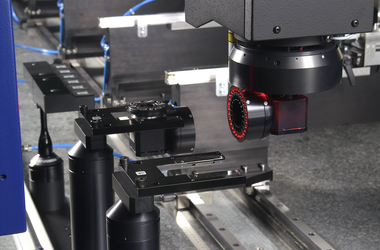
The sensors are positioned using the moving bridge so that the workpiece does not have to be moved during measurement. Standard measuring ranges between 500 mm and 2,000 mm in the X-axis, up to 5,000 mm in the Y-axis and up to 1,500 mm in the Z-axis enable measurements on large-volume workpieces from the automotive, machine and tool manufacturing industries weighing up to 5 tons. Equipped with temperature compensation, the air bearing multisensor coordinate measuring machine delivers precise measurement results even when set up close to production.
-
Applications
- 3D free-form workpieces
- Extruded workpieces
- Molds
- Semiconductor workpieces
- Lithographic structures
- Metal-plastic composite workpieces
- Prismatic workpieces
- Punched and bent parts
- Packaging
- Shaft-Hub Connections
- Shafts and Axes
- Workpieces with micro-features
- Optics and Lenses
- Tools with precisely defined cutting edges
- Tools with complex or irregular cutting edges
- Gear wheels
- Cylindrical workpieces
- Industries
- Our products
- Werth service
- About Werth
- Careers
- Foundation
- Publications
- Downloads


