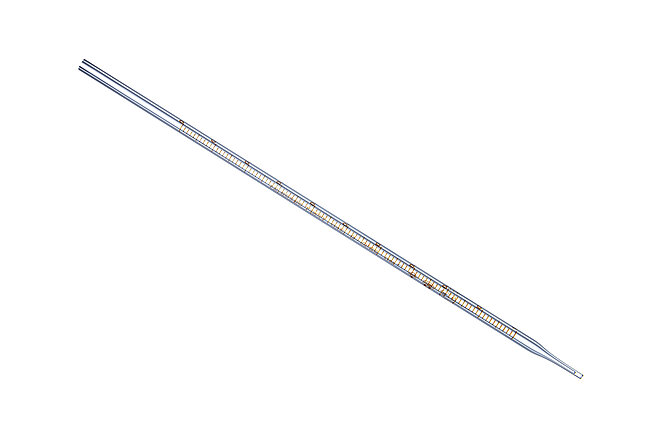
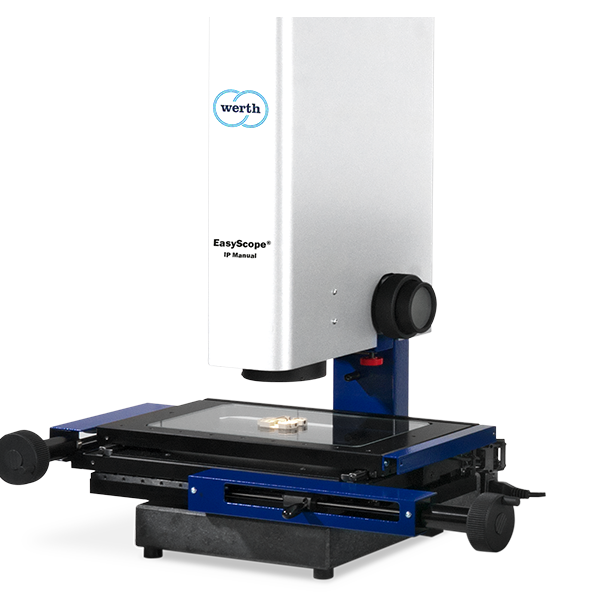
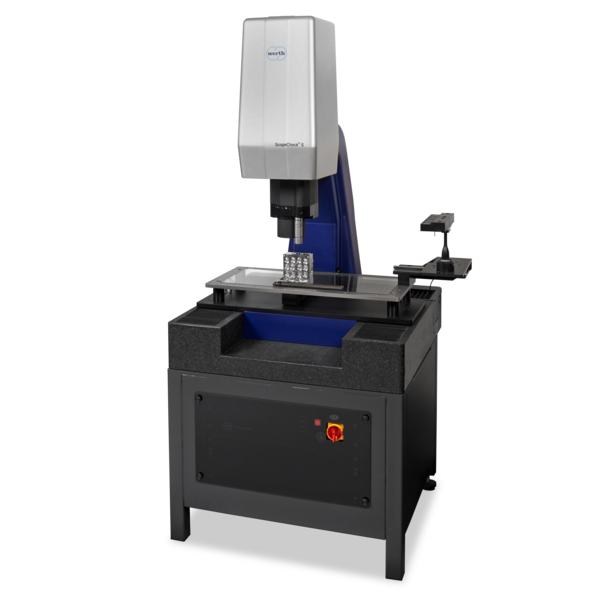
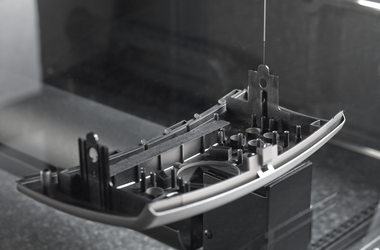
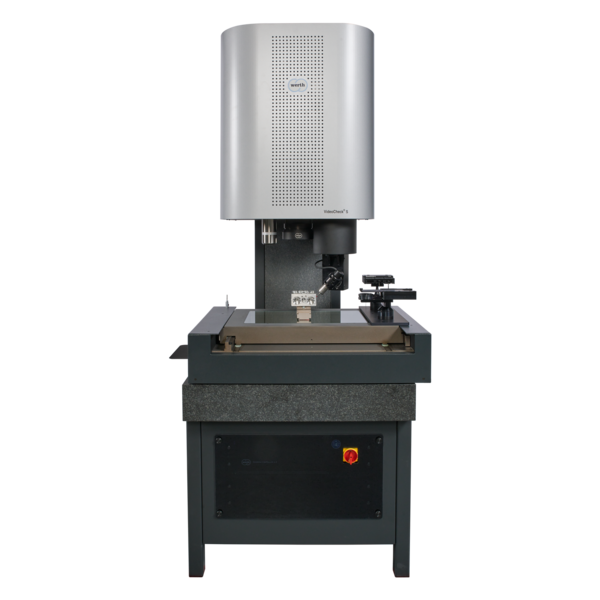
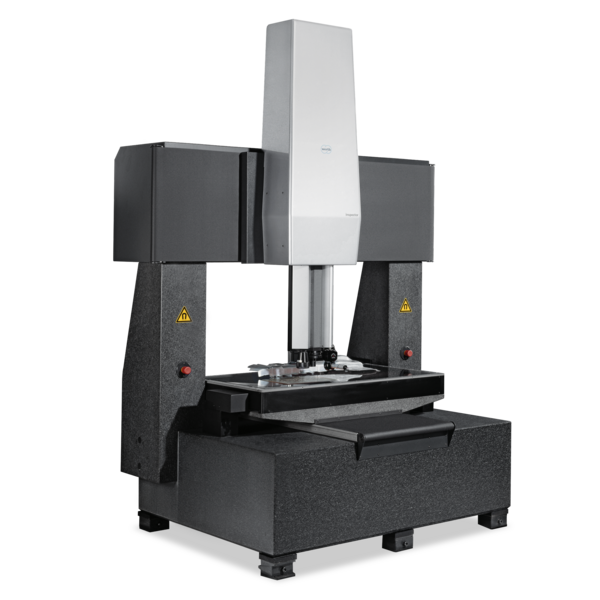
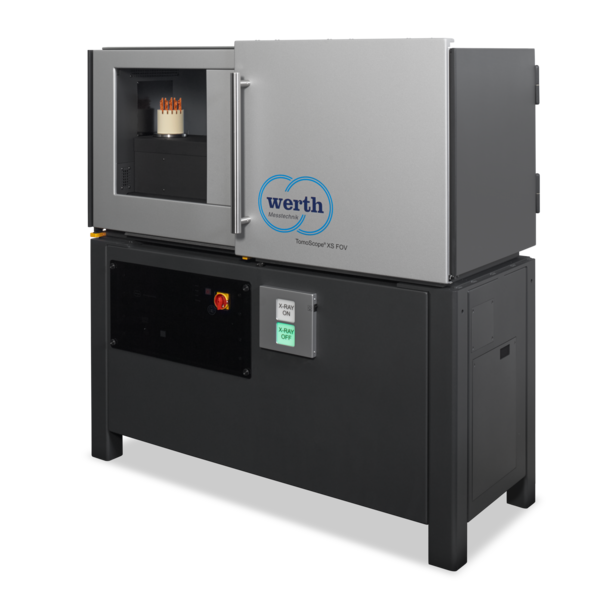
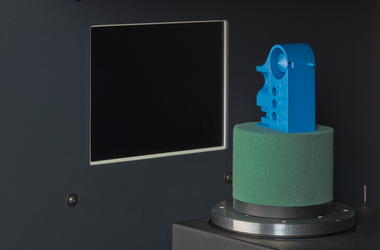
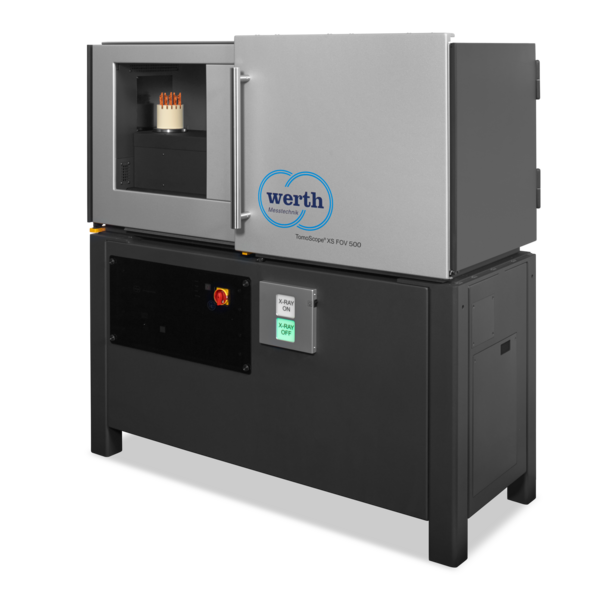
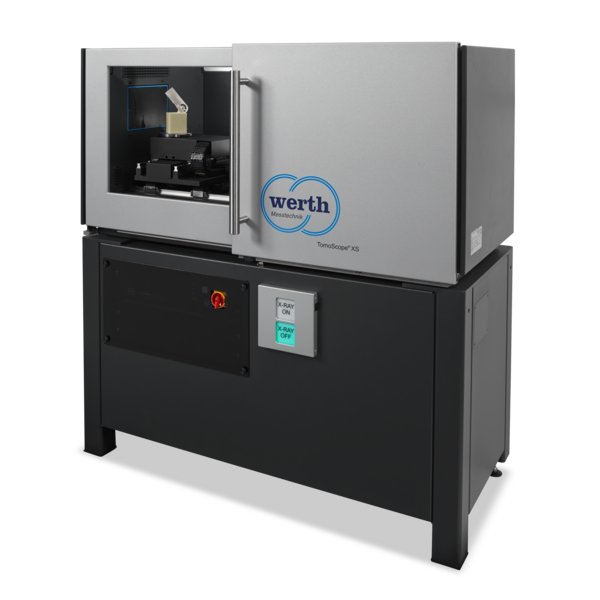
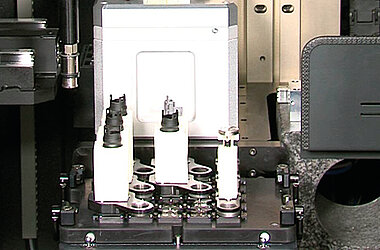
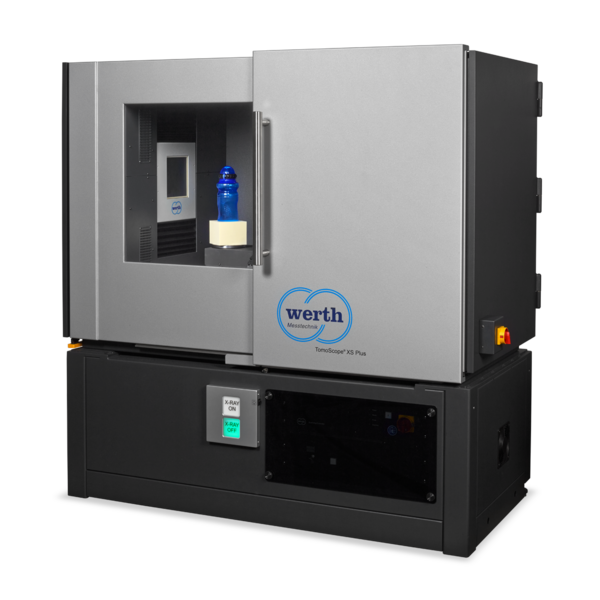
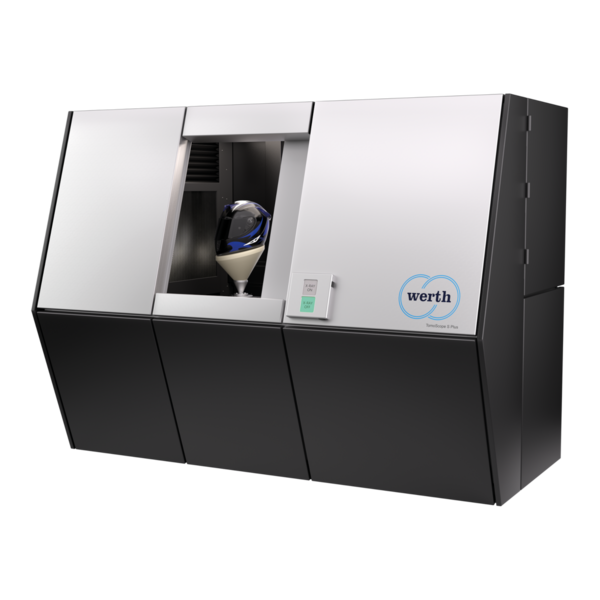
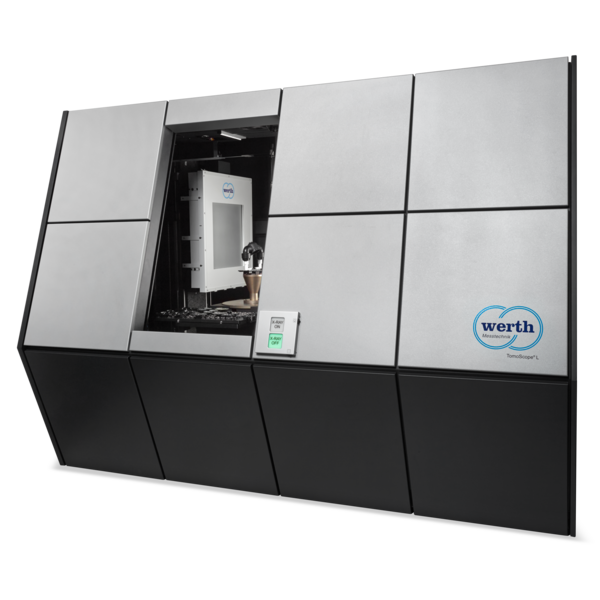
Pipette tips are manufactured in very large quantities using multiple molds. The diameters at the inlet and outlet as well as their coaxiality and the wall thickness distribution over the entire pipette tip must be measured. With tolerances of 20 µm to 50 µm, the requirements for measurement uncertainty are in the medium range. The measurement time must be short so that the test frequency can be kept sufficiently high.
-
Applications
- 3D free-form workpieces
- Extruded workpieces
- Molds
- Semiconductor workpieces
- Lithographic structures
- Metal-plastic composite workpieces
- Prismatic workpieces
- Punched and bent parts
- Packaging
- Shaft-Hub Connections
- Shafts and Axes
- Workpieces with micro-features
- Optics and Lenses
- Tools with precisely defined cutting edges
- Tools with complex or irregular cutting edges
- Gear wheels
- Cylindrical workpieces
- Industries
- Our products
- Werth service
- About Werth
- Careers
- Foundation
- Publications
- Downloads


