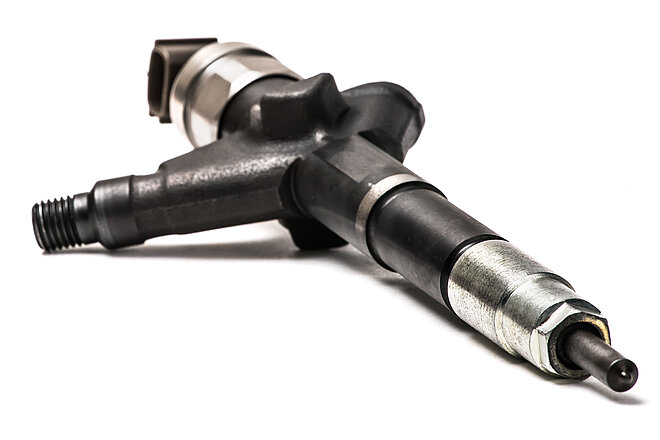
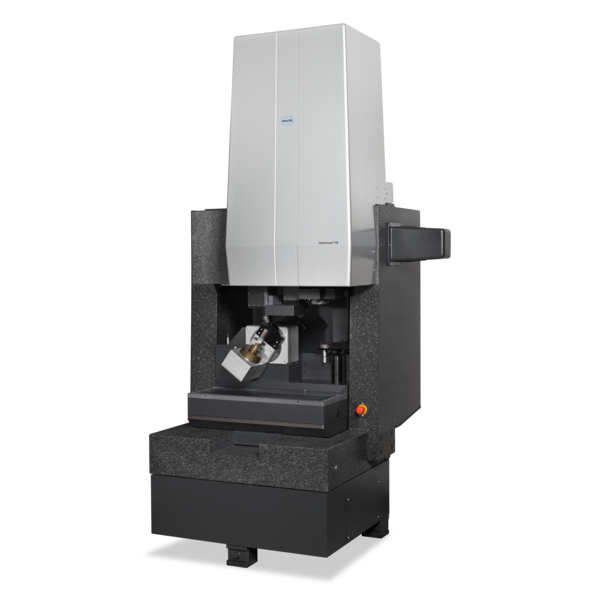
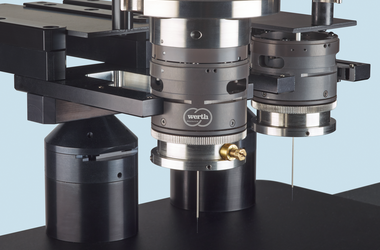
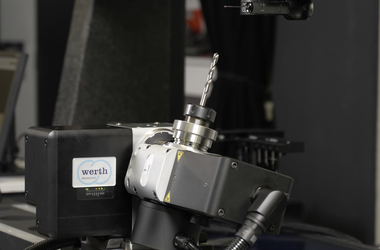
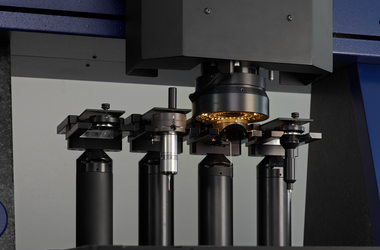
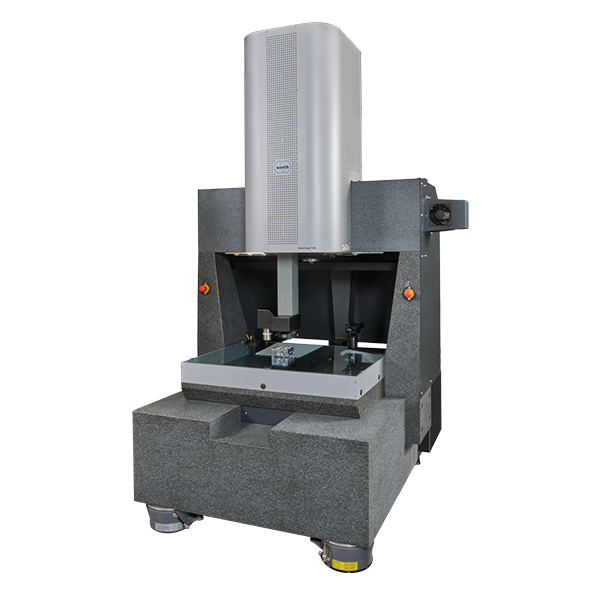
The quality of the injection holes, which have a diameter of approx. 100 µm and a length of approx. 1 mm, is decisive for the quality of the injection process. The main parameters to be measured are the diameter of the injection holes and their position and angle to the reference axis of the nozzle. The small tolerances of a few micrometers lead to very high demands on the measurement uncertainty, yet short measurement times are required. Due to the very small diameter of the injection holes, they cannot be measured with conventional electro-mechanical styluses.
-
Applications
- 3D free-form workpieces
- Extruded workpieces
- Molds
- Semiconductor workpieces
- Lithographic structures
- Metal-plastic composite workpieces
- Prismatic workpieces
- Punched and bent parts
- Packaging
- Shaft-Hub Connections
- Shafts and Axes
- Workpieces with micro-features
- Optics and Lenses
- Tools with precisely defined cutting edges
- Tools with complex or irregular cutting edges
- Gear wheels
- Cylindrical workpieces
- Industries
- Our products
- Werth service
- About Werth
- Careers
- Foundation
- Publications
- Downloads


