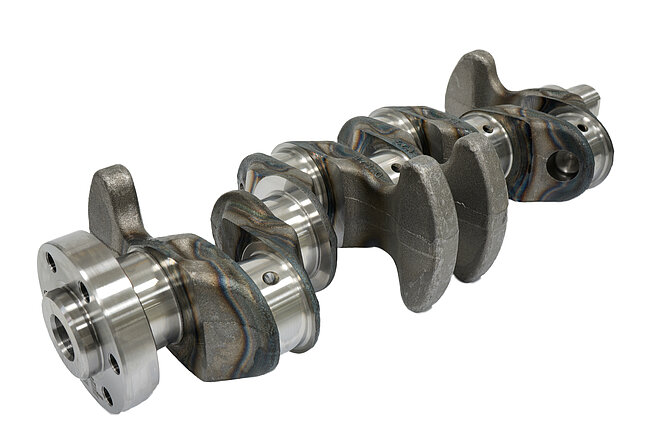
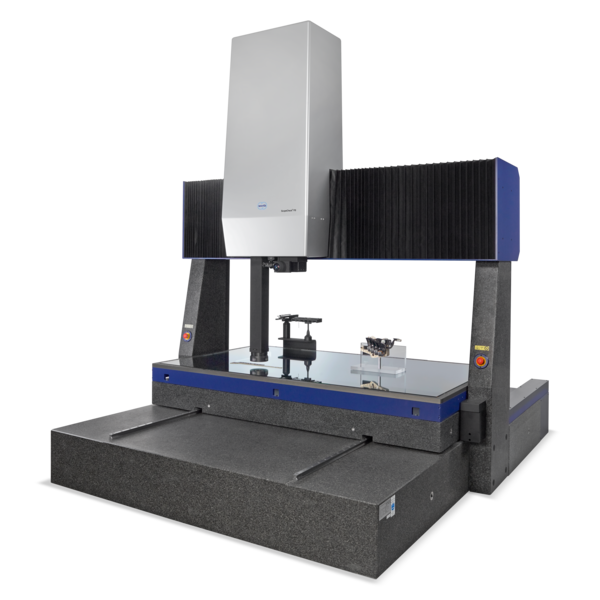
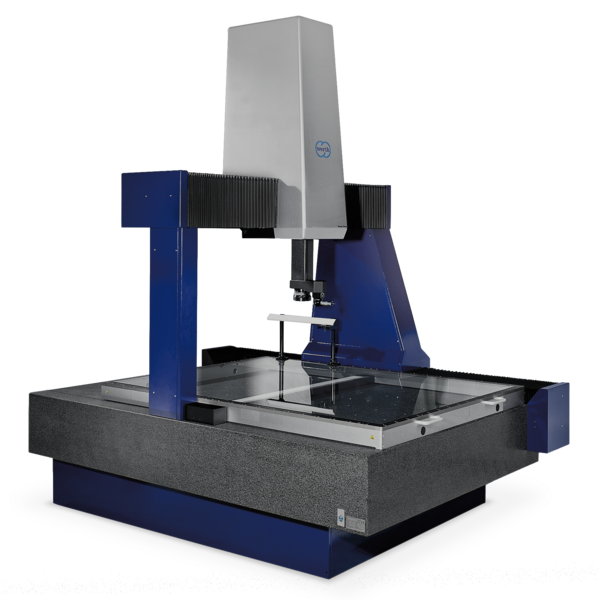
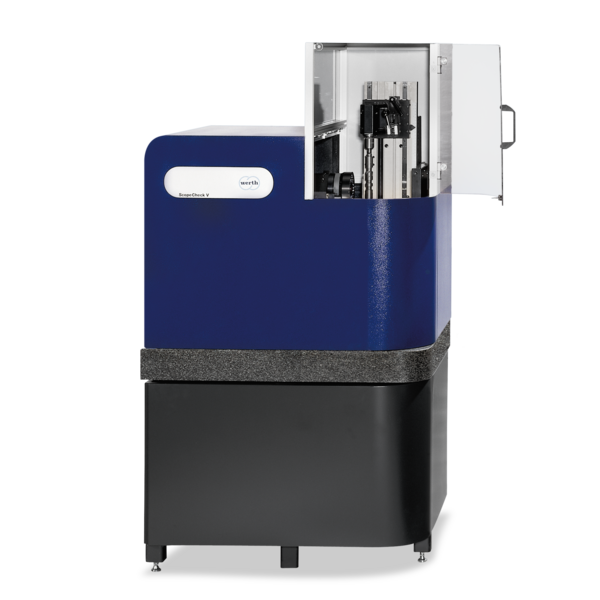
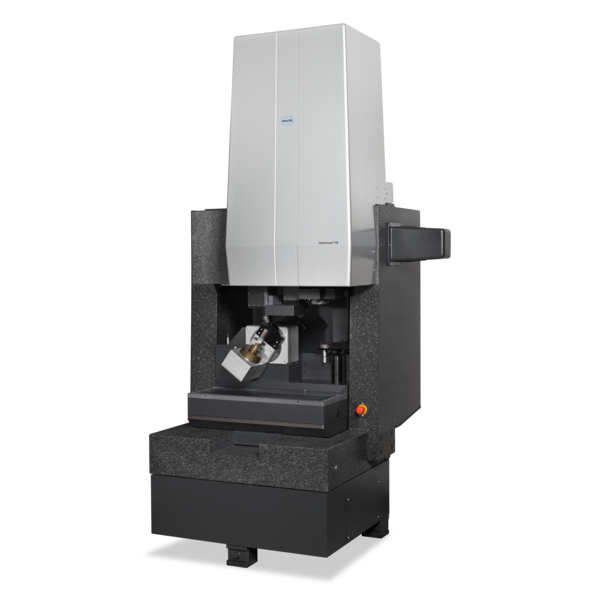
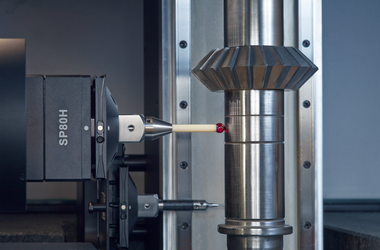
The special feature of crankshafts is the eccentric run-out of the pin bearings. The profile of the main and pin bearings, the crowning of the bearings and lengths must be measured. The requirements for measurement uncertainty are very high, with tolerances ranging from 5 µm to 20 µm. The measurement time requirements are also quite high. Vertical mounting of the crankshaft between centers is recommended for measurement.
-
Applications
- 3D free-form workpieces
- Extruded workpieces
- Molds
- Semiconductor workpieces
- Lithographic structures
- Metal-plastic composite workpieces
- Prismatic workpieces
- Punched and bent parts
- Packaging
- Shaft-Hub Connections
- Shafts and Axes
- Workpieces with micro-features
- Optics and Lenses
- Tools with precisely defined cutting edges
- Tools with complex or irregular cutting edges
- Gear wheels
- Cylindrical workpieces
- Industries
- Our products
- Werth service
- About Werth
- Careers
- Foundation
- Publications
- Downloads


