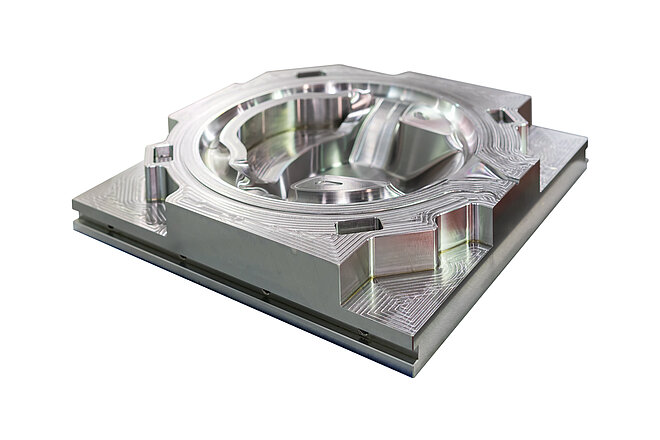
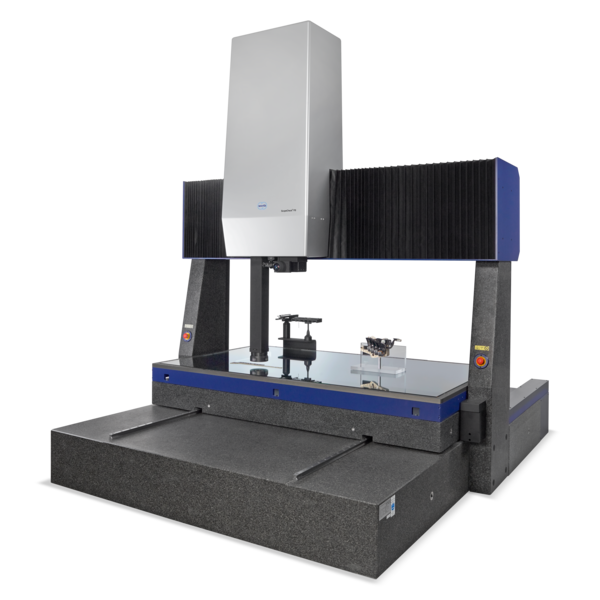
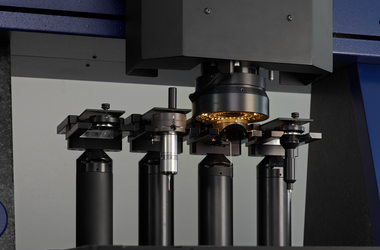
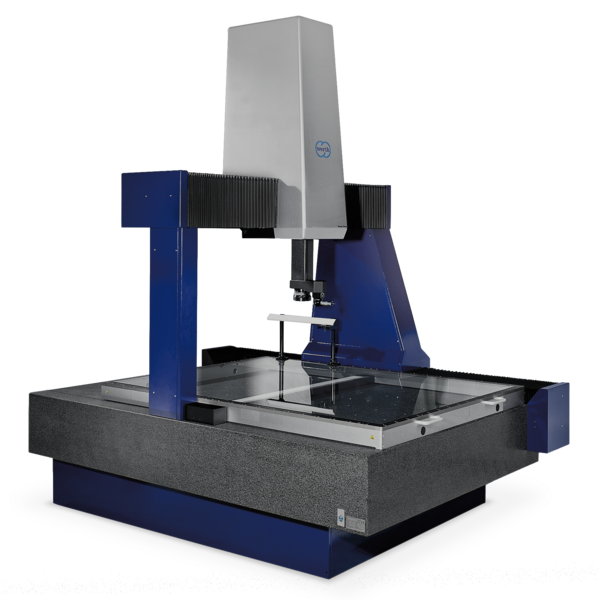
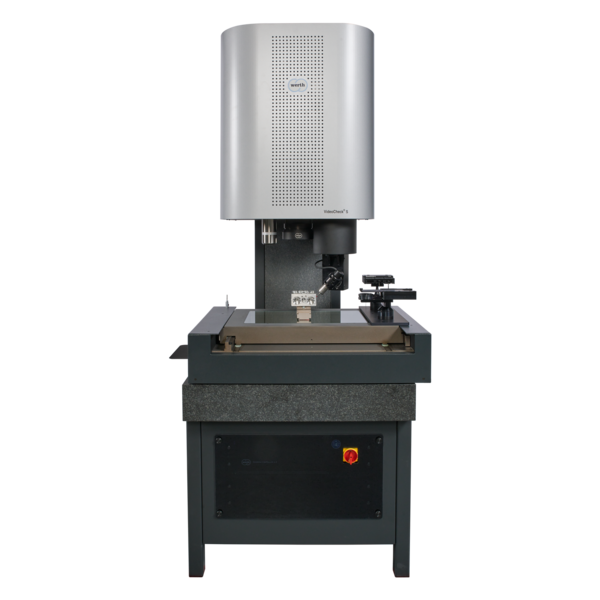
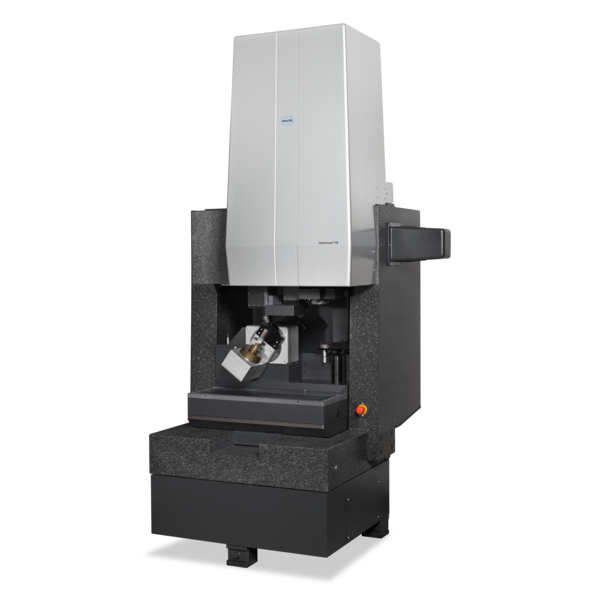
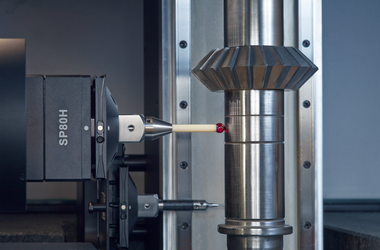
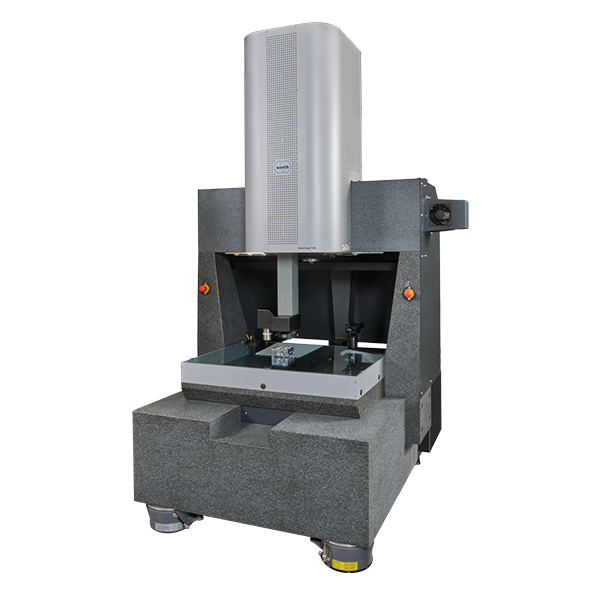
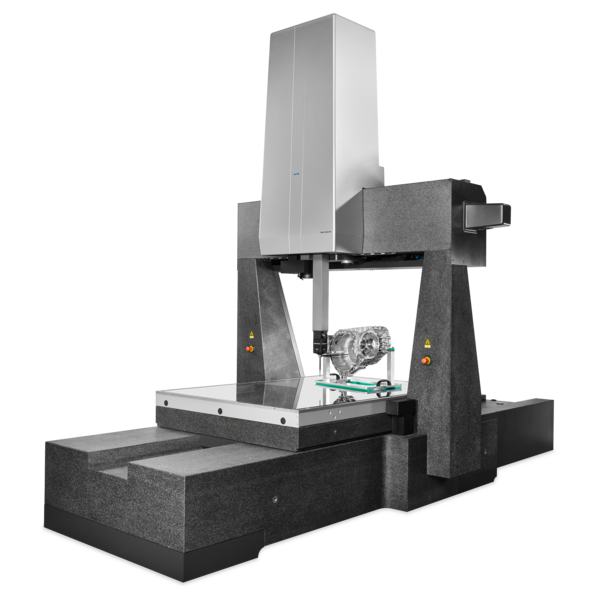
The tools are frequently adjusted iteratively until the produced workpieces meet the specified tolerances. Key geometric features include distances, radii, angles, and positional deviations. Tight tolerances ranging from 5 µm to 20 µm necessitate rigorous measurement uncertainty standards. While measurement time is considered, it is of lesser significance.
-
Applications
- 3D free-form workpieces
- Extruded workpieces
- Molds
- Semiconductor workpieces
- Lithographic structures
- Metal-plastic composite workpieces
- Prismatic workpieces
- Punched and bent parts
- Packaging
- Shaft-Hub Connections
- Shafts and Axes
- Workpieces with micro-features
- Optics and Lenses
- Tools with precisely defined cutting edges
- Tools with complex or irregular cutting edges
- Gear wheels
- Cylindrical workpieces
- Industries
- Our products
- Werth service
- About Werth
- Careers
- Foundation
- Publications
- Downloads


