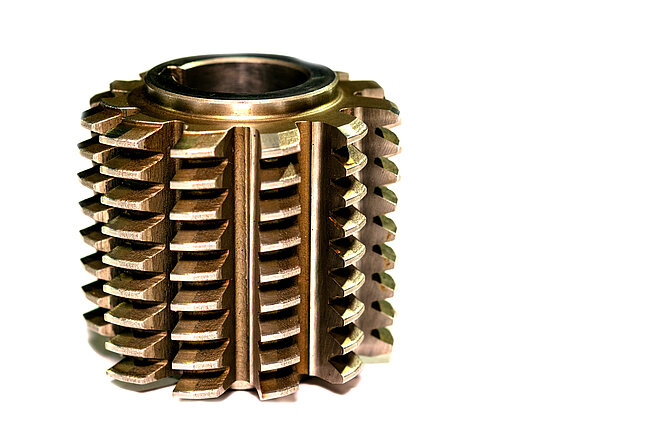
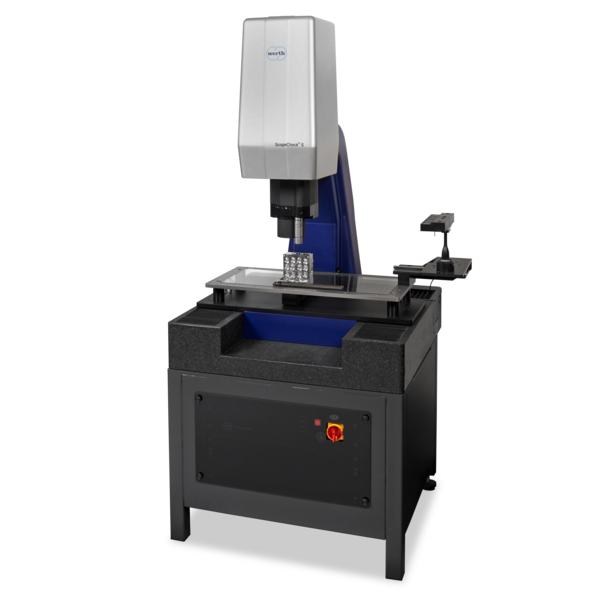
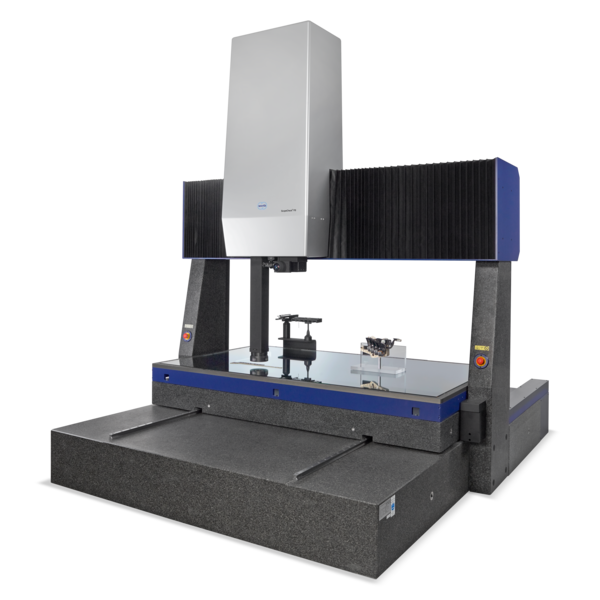
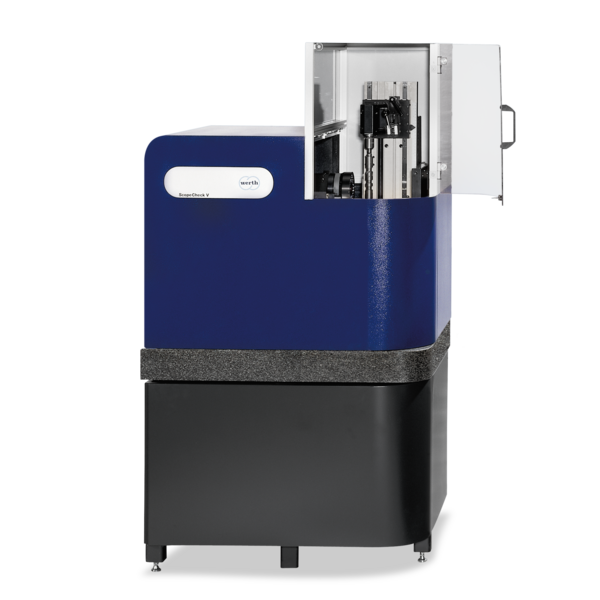
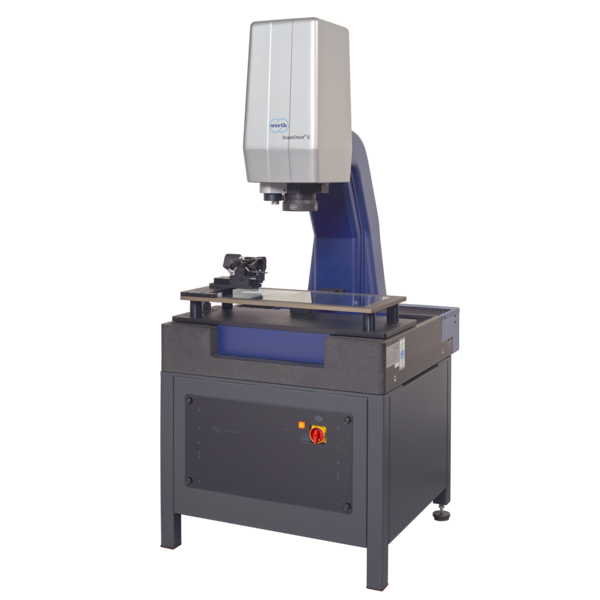
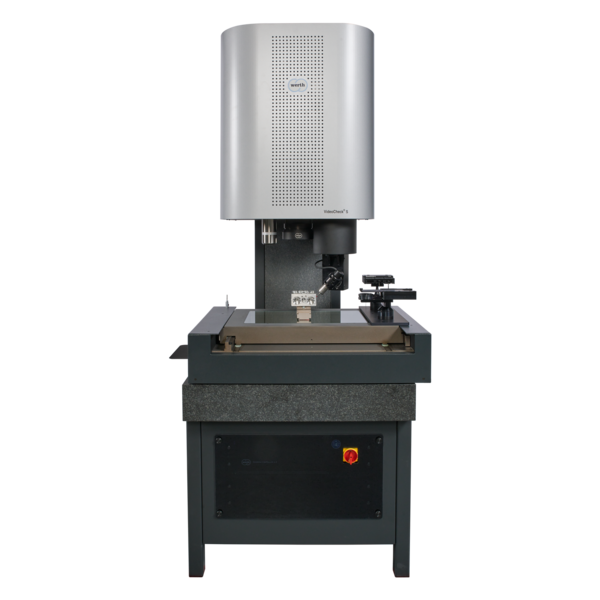
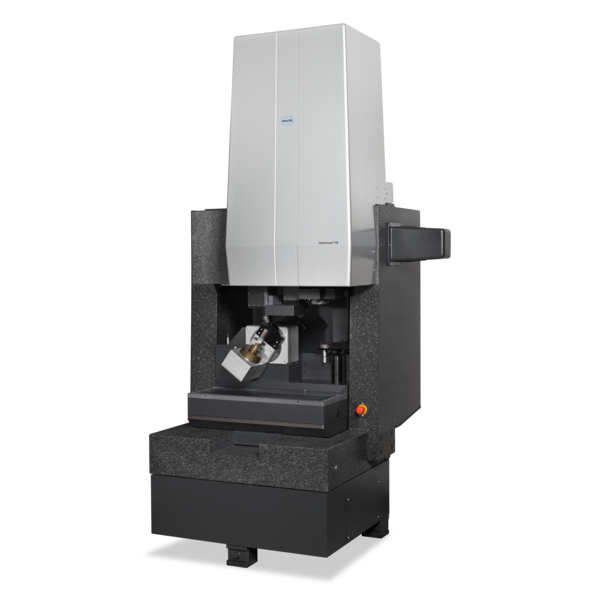
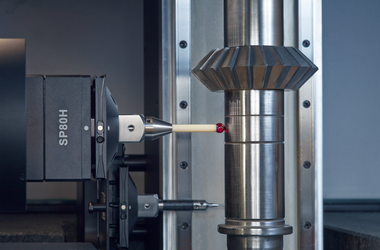
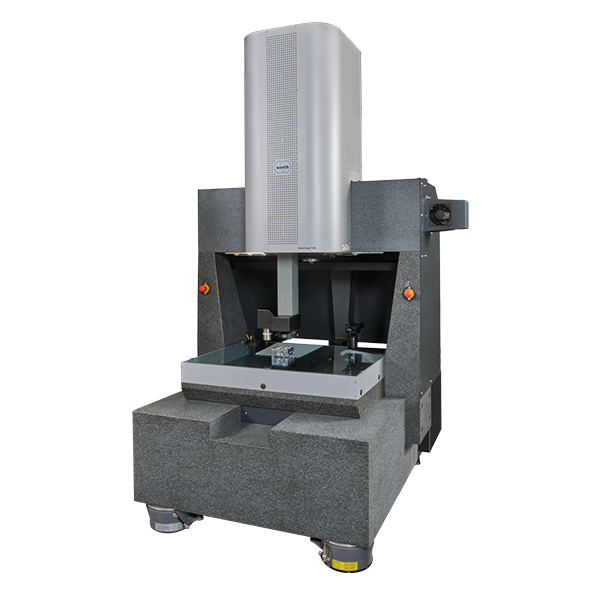
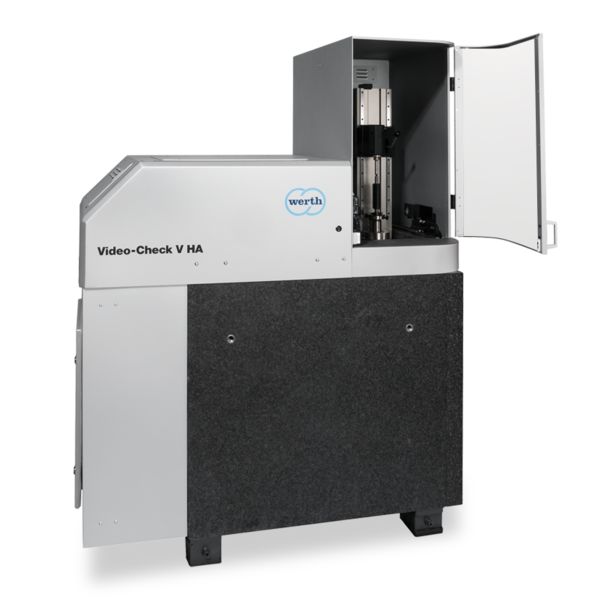
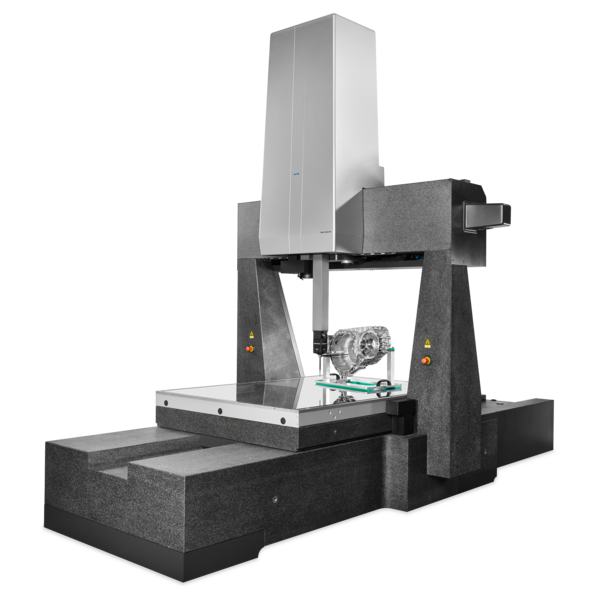
The hob defines the geometry of the gears. It is checked directly after manufacture and after resharpening due to wear. Measurement and graphical representation of the geometrical characteristics such as tooth profile, pitch and pitch according to DIN 3968 or a wear measurement to determine the resharpening depth are required. With tolerances of a few micrometers, the requirements for measurement uncertainty are high. Due to the large number of features, this also applies to the measuring speed.
-
Applications
- 3D free-form workpieces
- Extruded workpieces
- Molds
- Semiconductor workpieces
- Lithographic structures
- Metal-plastic composite workpieces
- Prismatic workpieces
- Punched and bent parts
- Packaging
- Shaft-Hub Connections
- Shafts and Axes
- Workpieces with micro-features
- Optics and Lenses
- Tools with precisely defined cutting edges
- Tools with complex or irregular cutting edges
- Gear wheels
- Cylindrical workpieces
- Industries
- Our products
- Werth service
- About Werth
- Careers
- Foundation
- Publications
- Downloads


