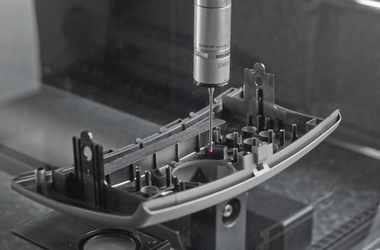
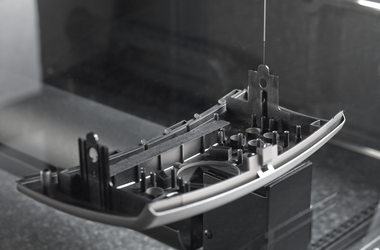
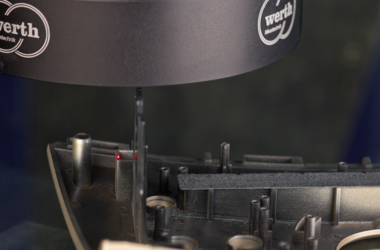
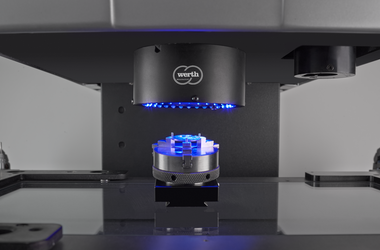
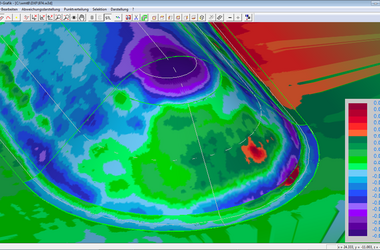
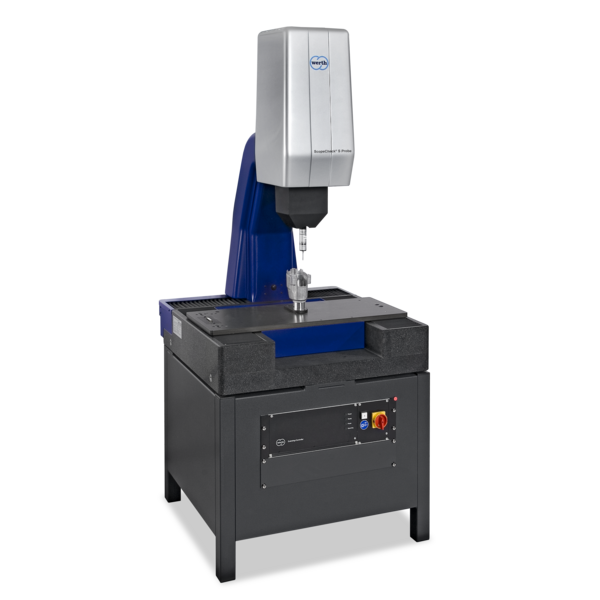
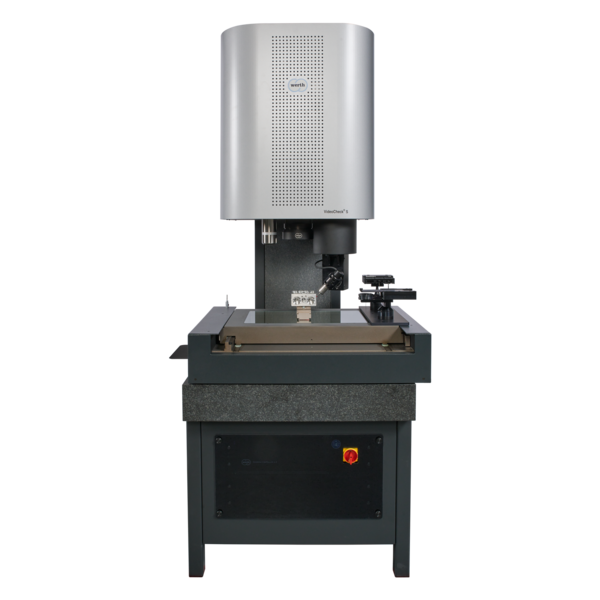
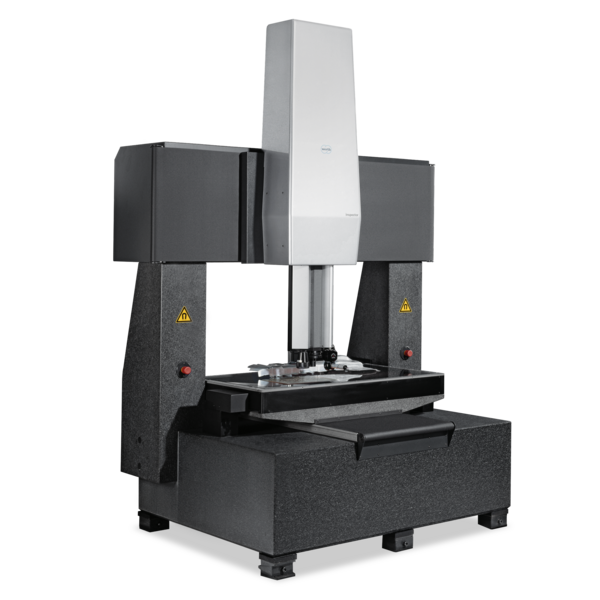
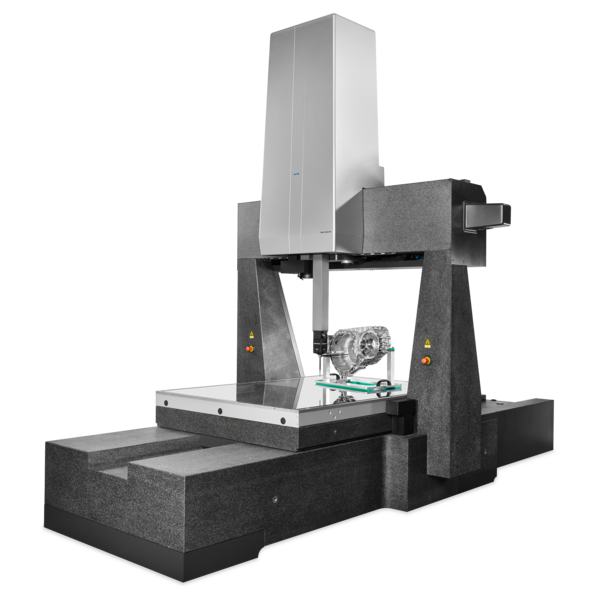
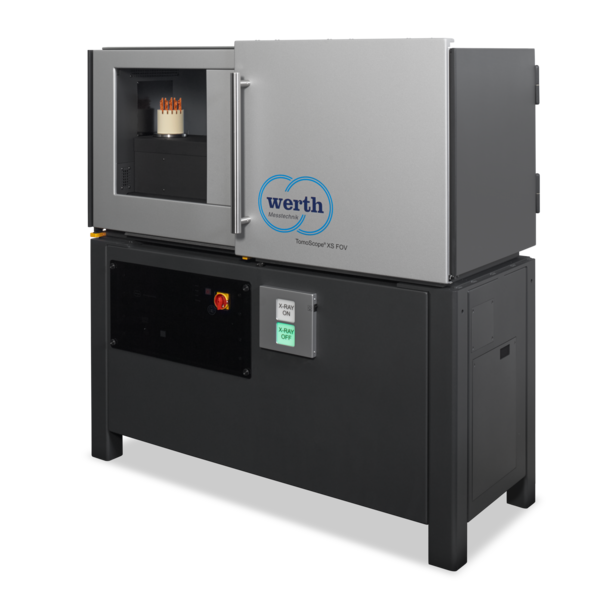
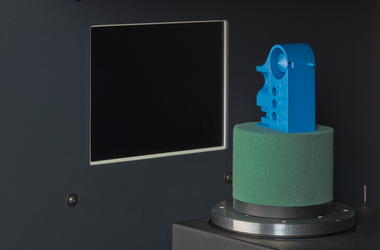
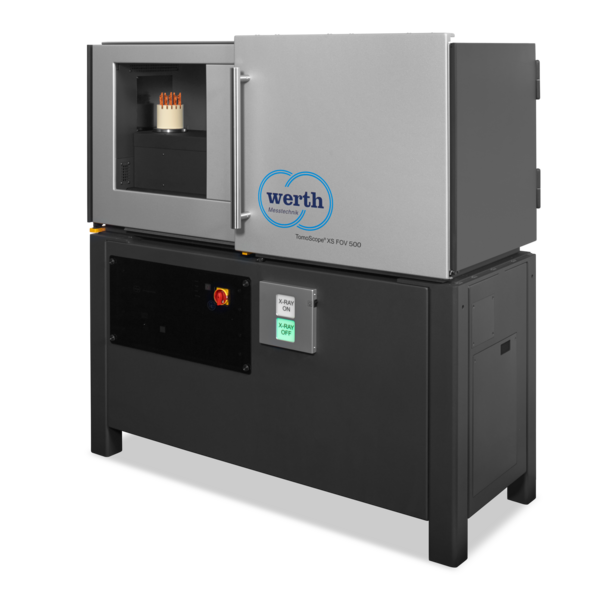
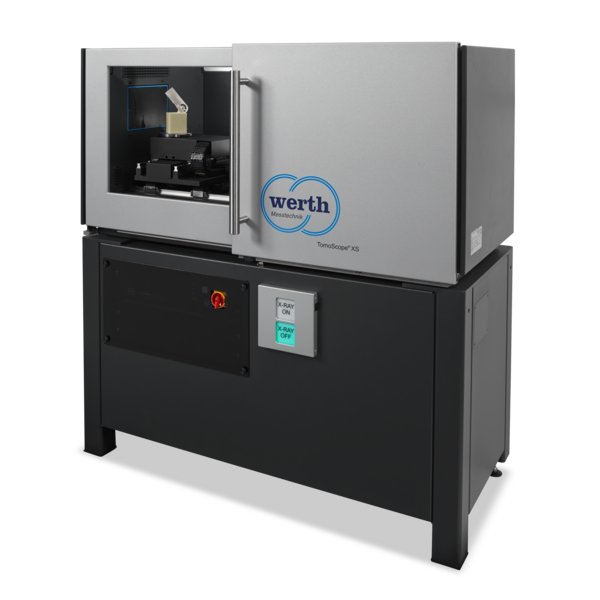
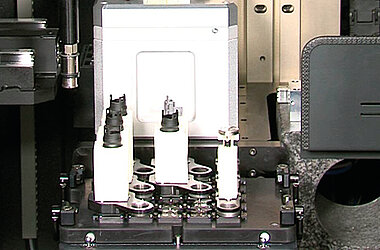
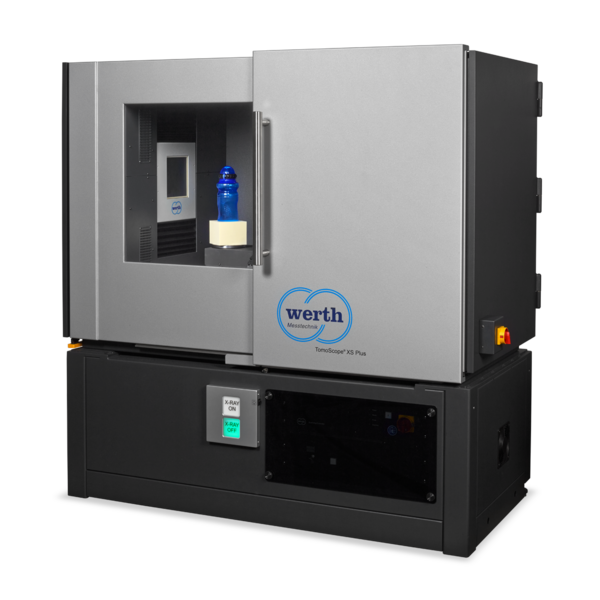
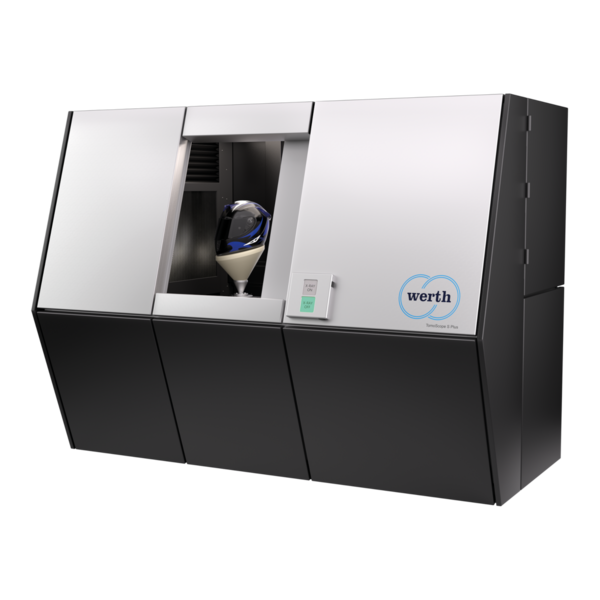
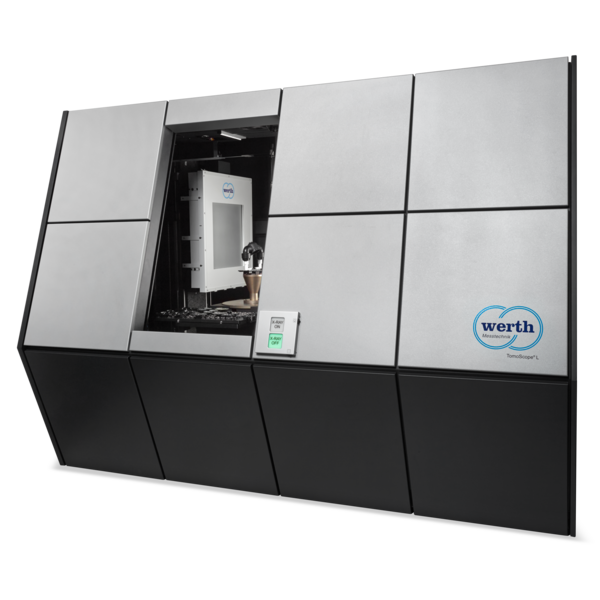
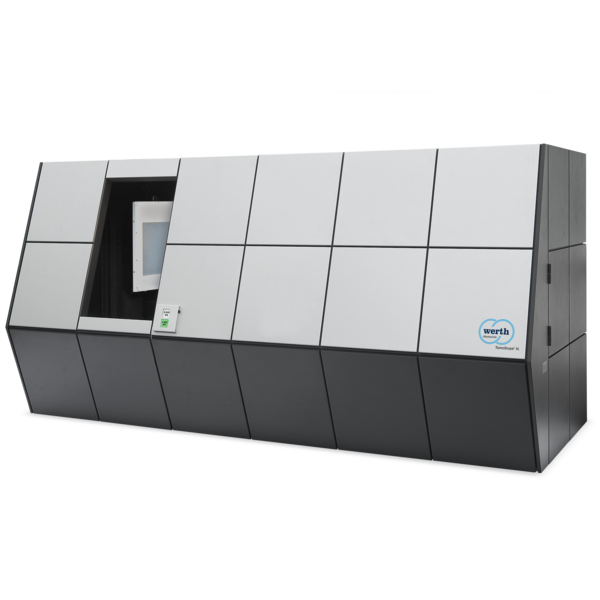
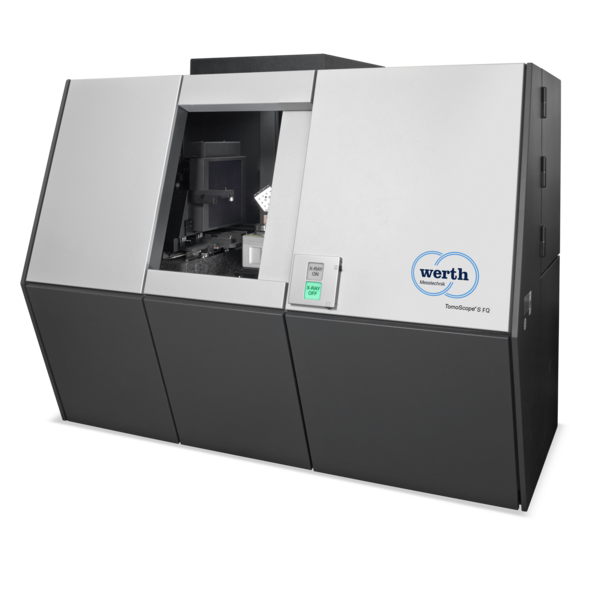
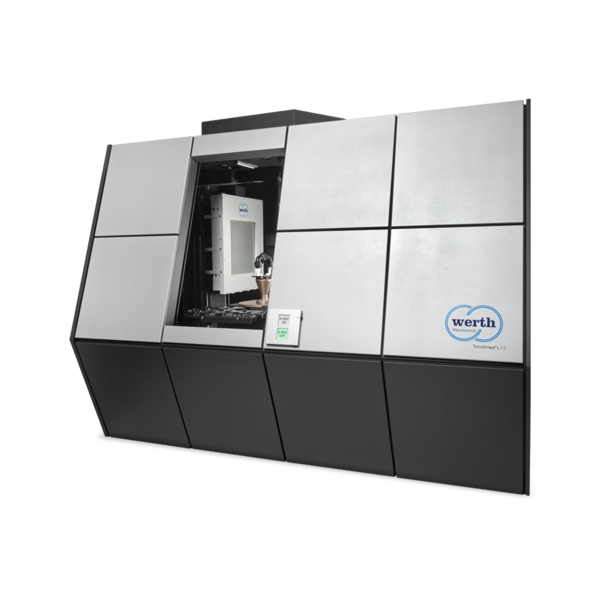
Size, mold and position deviations with standard tolerances in the range of 20 µm to 100 µm are determined and therefore measurement uncertainties in the range of a few micrometers are required. The measuring speed requirements for process monitoring are sometimes very high. Special features include burr measurement and shrinkage testing as well as the possibility of correction in 3D printing and toolmaking. An important method is the comparison between the measured workpiece and the CAD specification.
-
Applications
- 3D free-form workpieces
- Extruded workpieces
- Molds
- Semiconductor workpieces
- Lithographic structures
- Metal-plastic composite workpieces
- Prismatic workpieces
- Punched and bent parts
- Packaging
- Shaft-Hub Connections
- Shafts and Axes
- Workpieces with micro-features
- Optics and Lenses
- Tools with precisely defined cutting edges
- Tools with complex or irregular cutting edges
- Gear wheels
- Cylindrical workpieces
- Industries
- Our products
- Werth service
- About Werth
- Careers
- Foundation
- Publications
- Downloads


