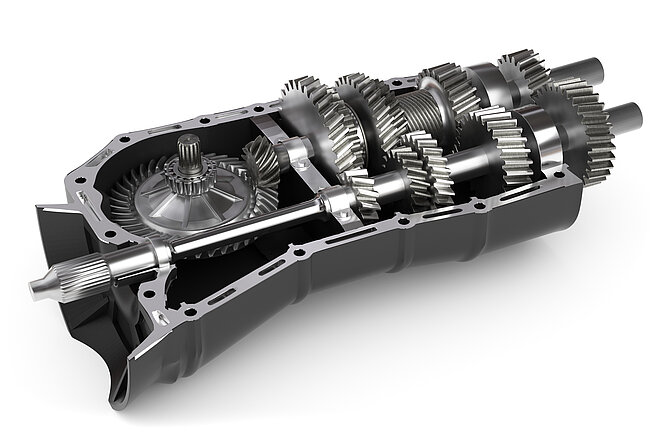
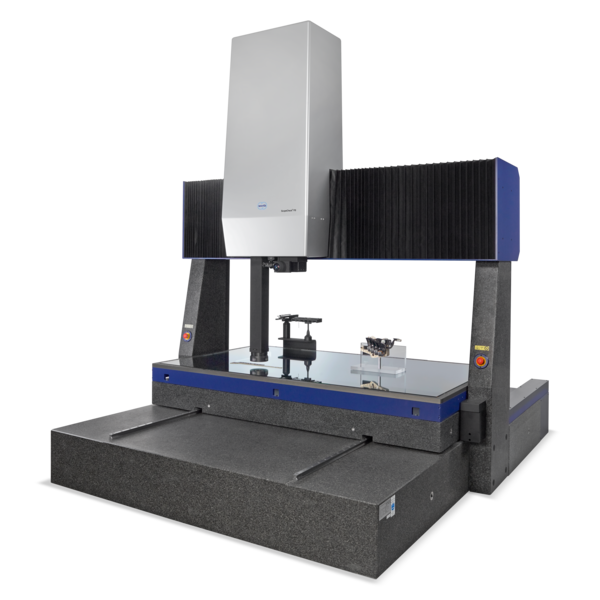
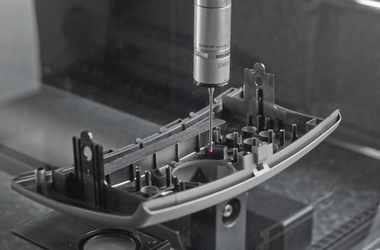
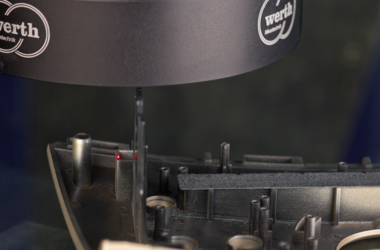
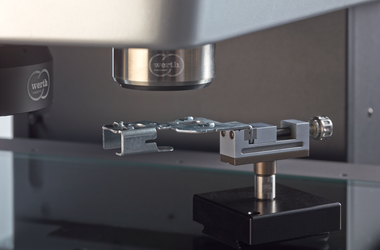
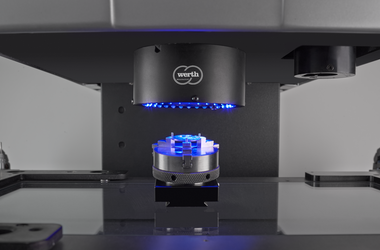
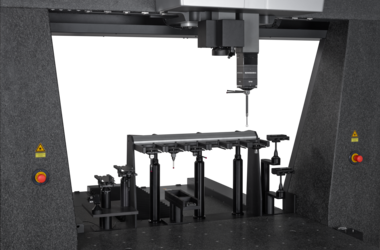
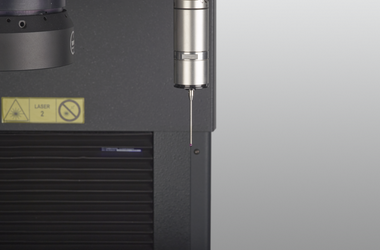
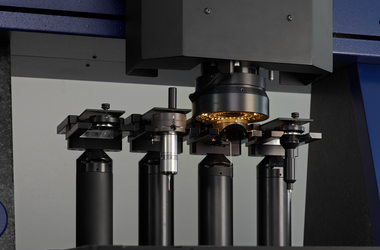
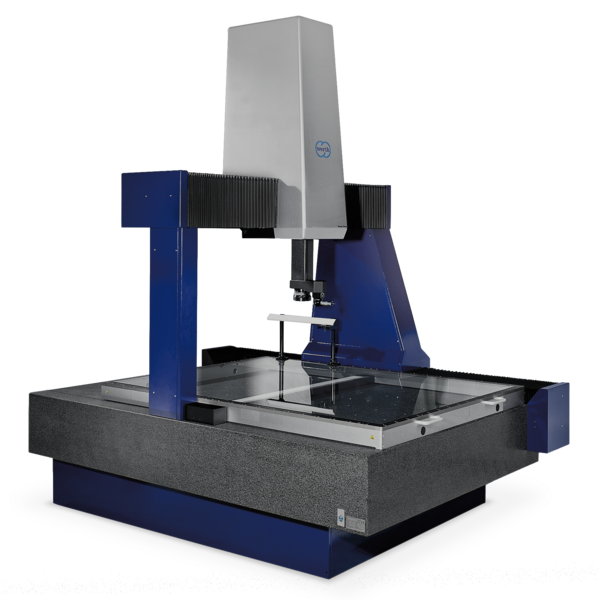
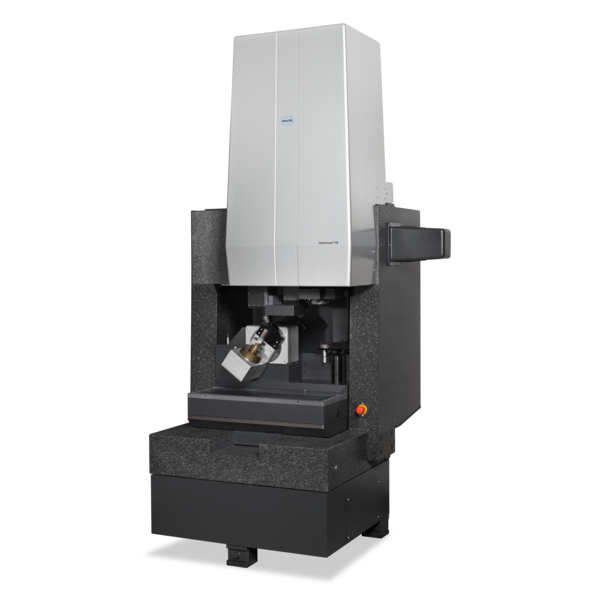
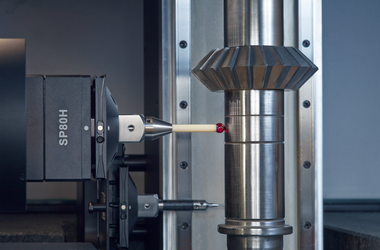
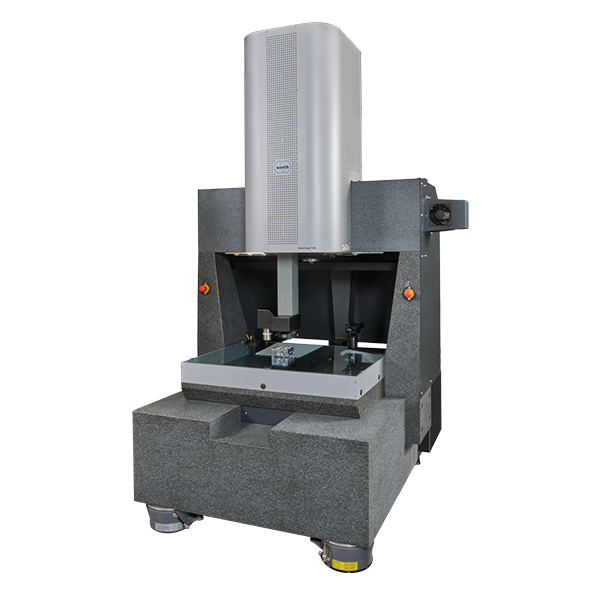
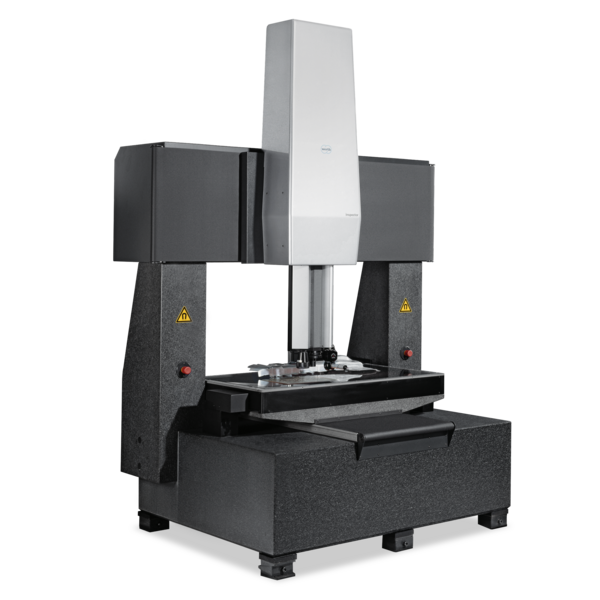
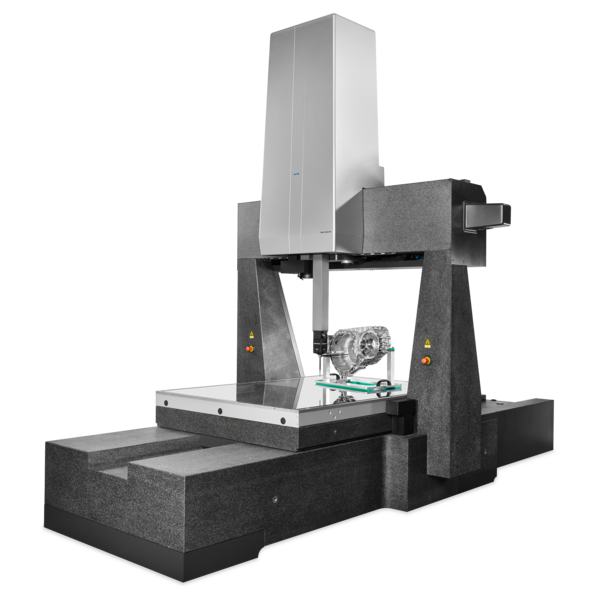
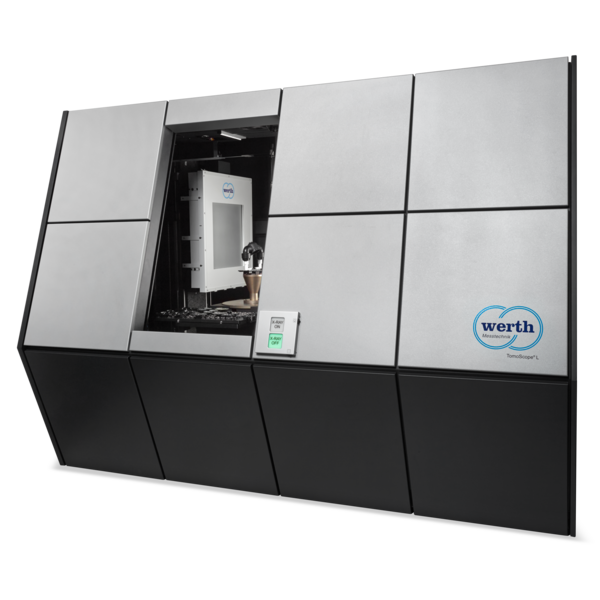
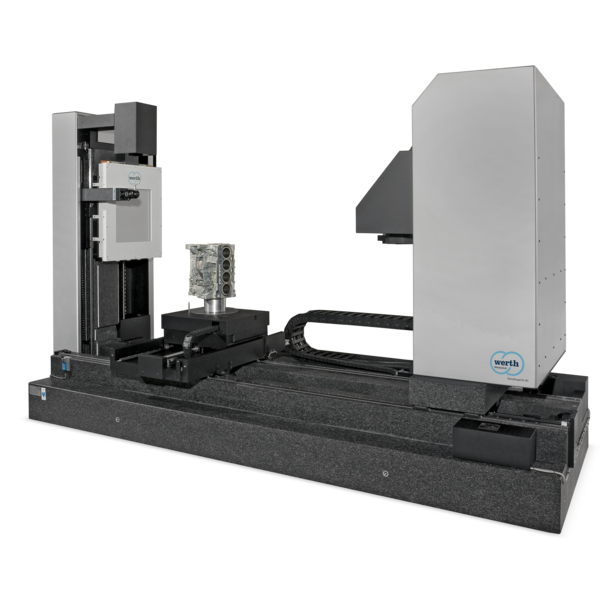
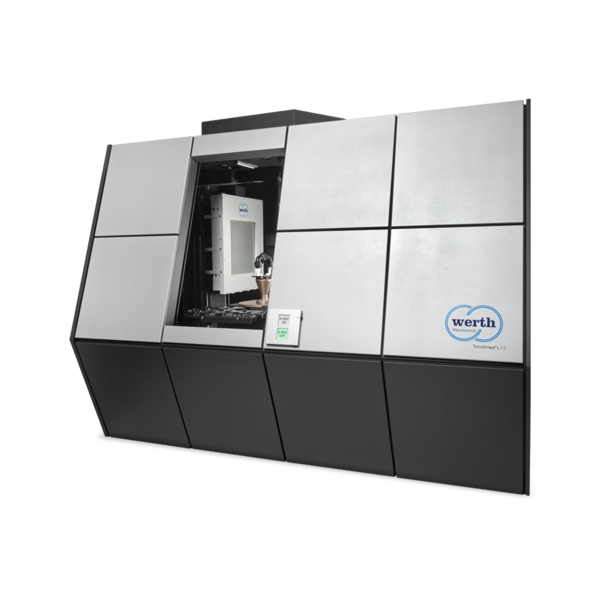
The surface of gear housings is generally very rough and is only machined at the functional points. These finished surfaces must be measured accordingly. In addition to the flatness of the reference surface, the diameter and position of the bores are also required. Gear housings are also tested for voids. The tolerances range from approx. 20 µm to 50 µm. This means that the requirements for measurement uncertainty are in the medium range. While measurement time is considered, it is of secondary importance.
-
Applications
- 3D free-form workpieces
- Extruded workpieces
- Molds
- Semiconductor workpieces
- Lithographic structures
- Metal-plastic composite workpieces
- Prismatic workpieces
- Punched and bent parts
- Packaging
- Shaft-Hub Connections
- Shafts and Axes
- Workpieces with micro-features
- Optics and Lenses
- Tools with precisely defined cutting edges
- Tools with complex or irregular cutting edges
- Gear wheels
- Cylindrical workpieces
- Industries
- Our products
- Werth service
- About Werth
- Careers
- Foundation
- Publications
- Downloads


